-
Blog
Mike Shaw
June 8, 2021
Top Beginner Boxing Mistakes!
5 TOP BEGINNER MISTAKES WHEN BOXING!
If you’re new to boxing, or you just want to clean up your form and prevent yourself from injury, then this article is for you!
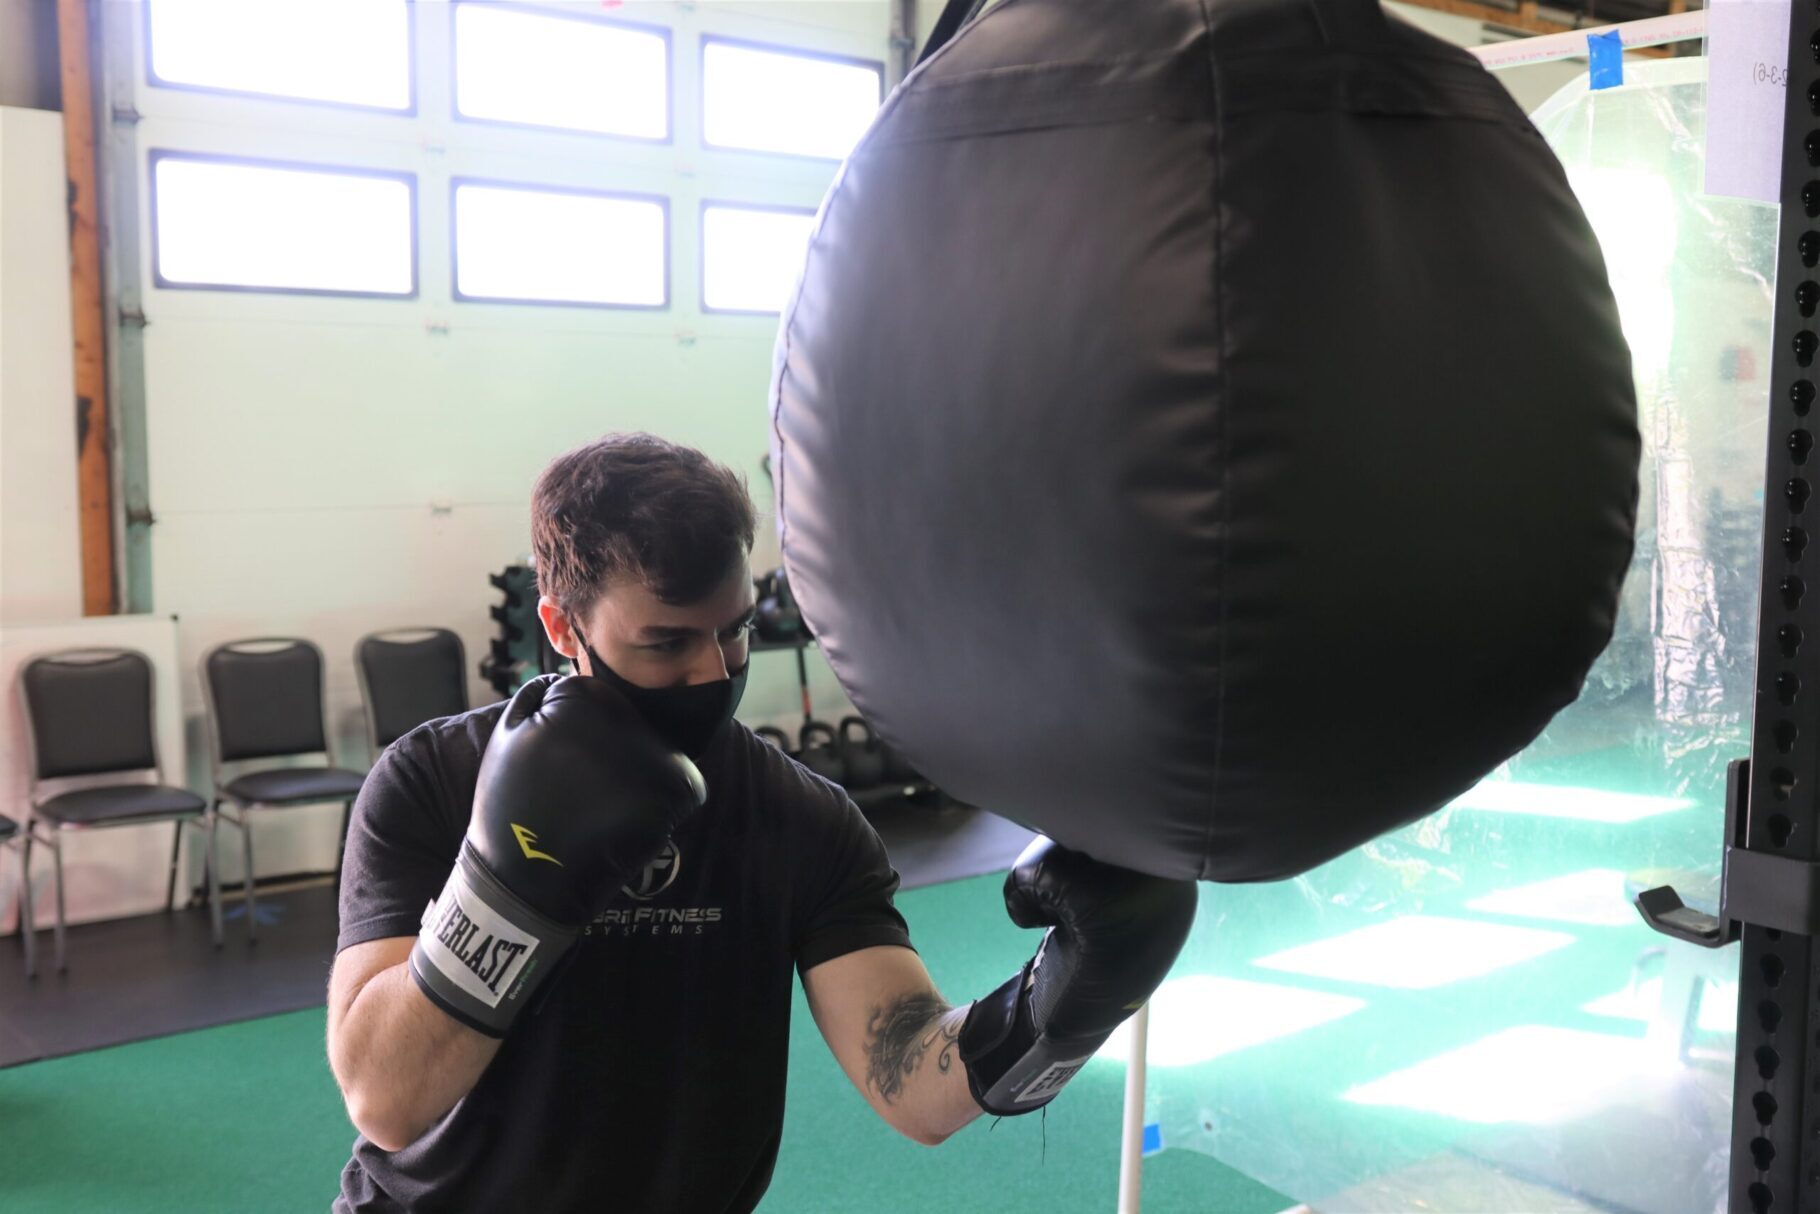
I’ve taught beginners boxing for several years now, and I see the same small mistakes with almost everyone. When punching a 70-100lb bag, form is very important. Proper form and technique ensure that you don’t injure yourself, and you get the most out of your workout.
Let’s take a look at the top 5 beginner mistakes when boxing!
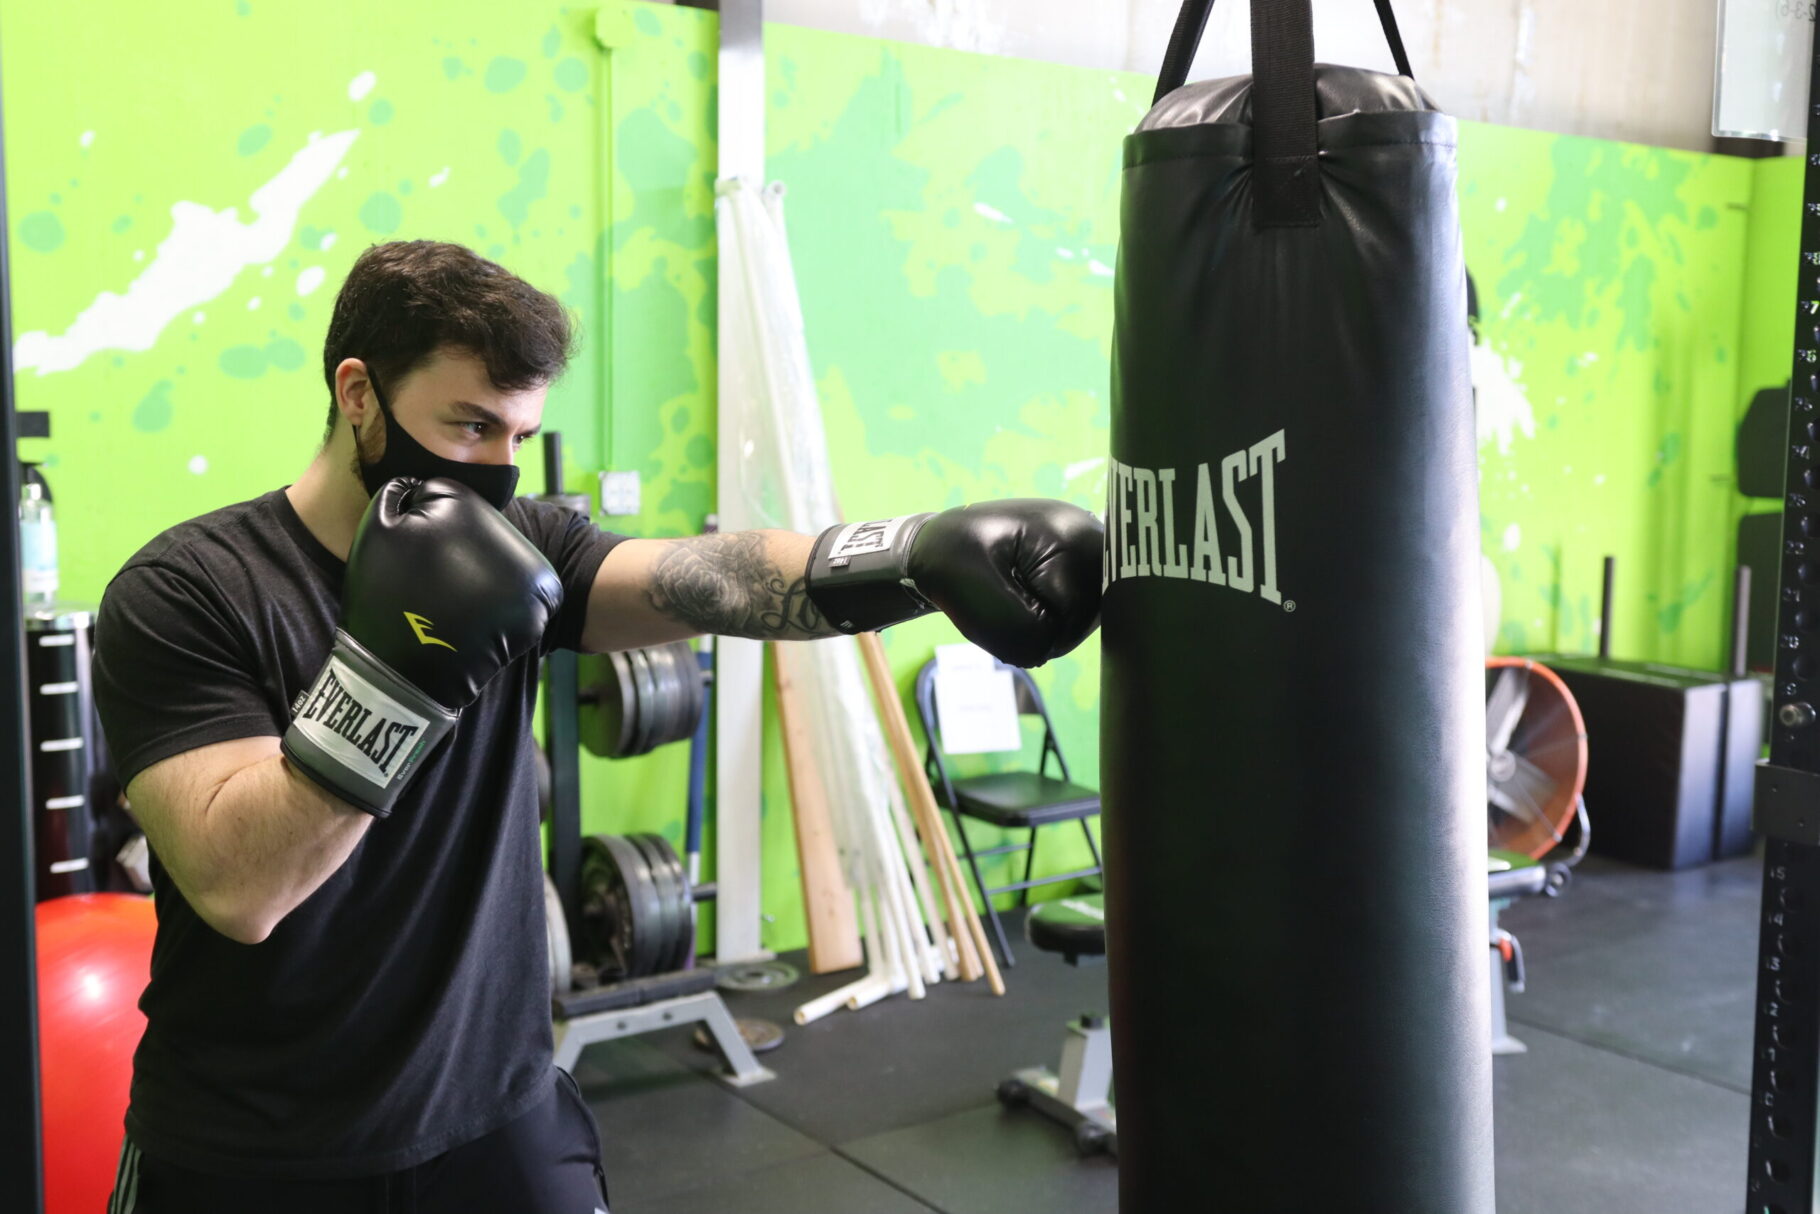
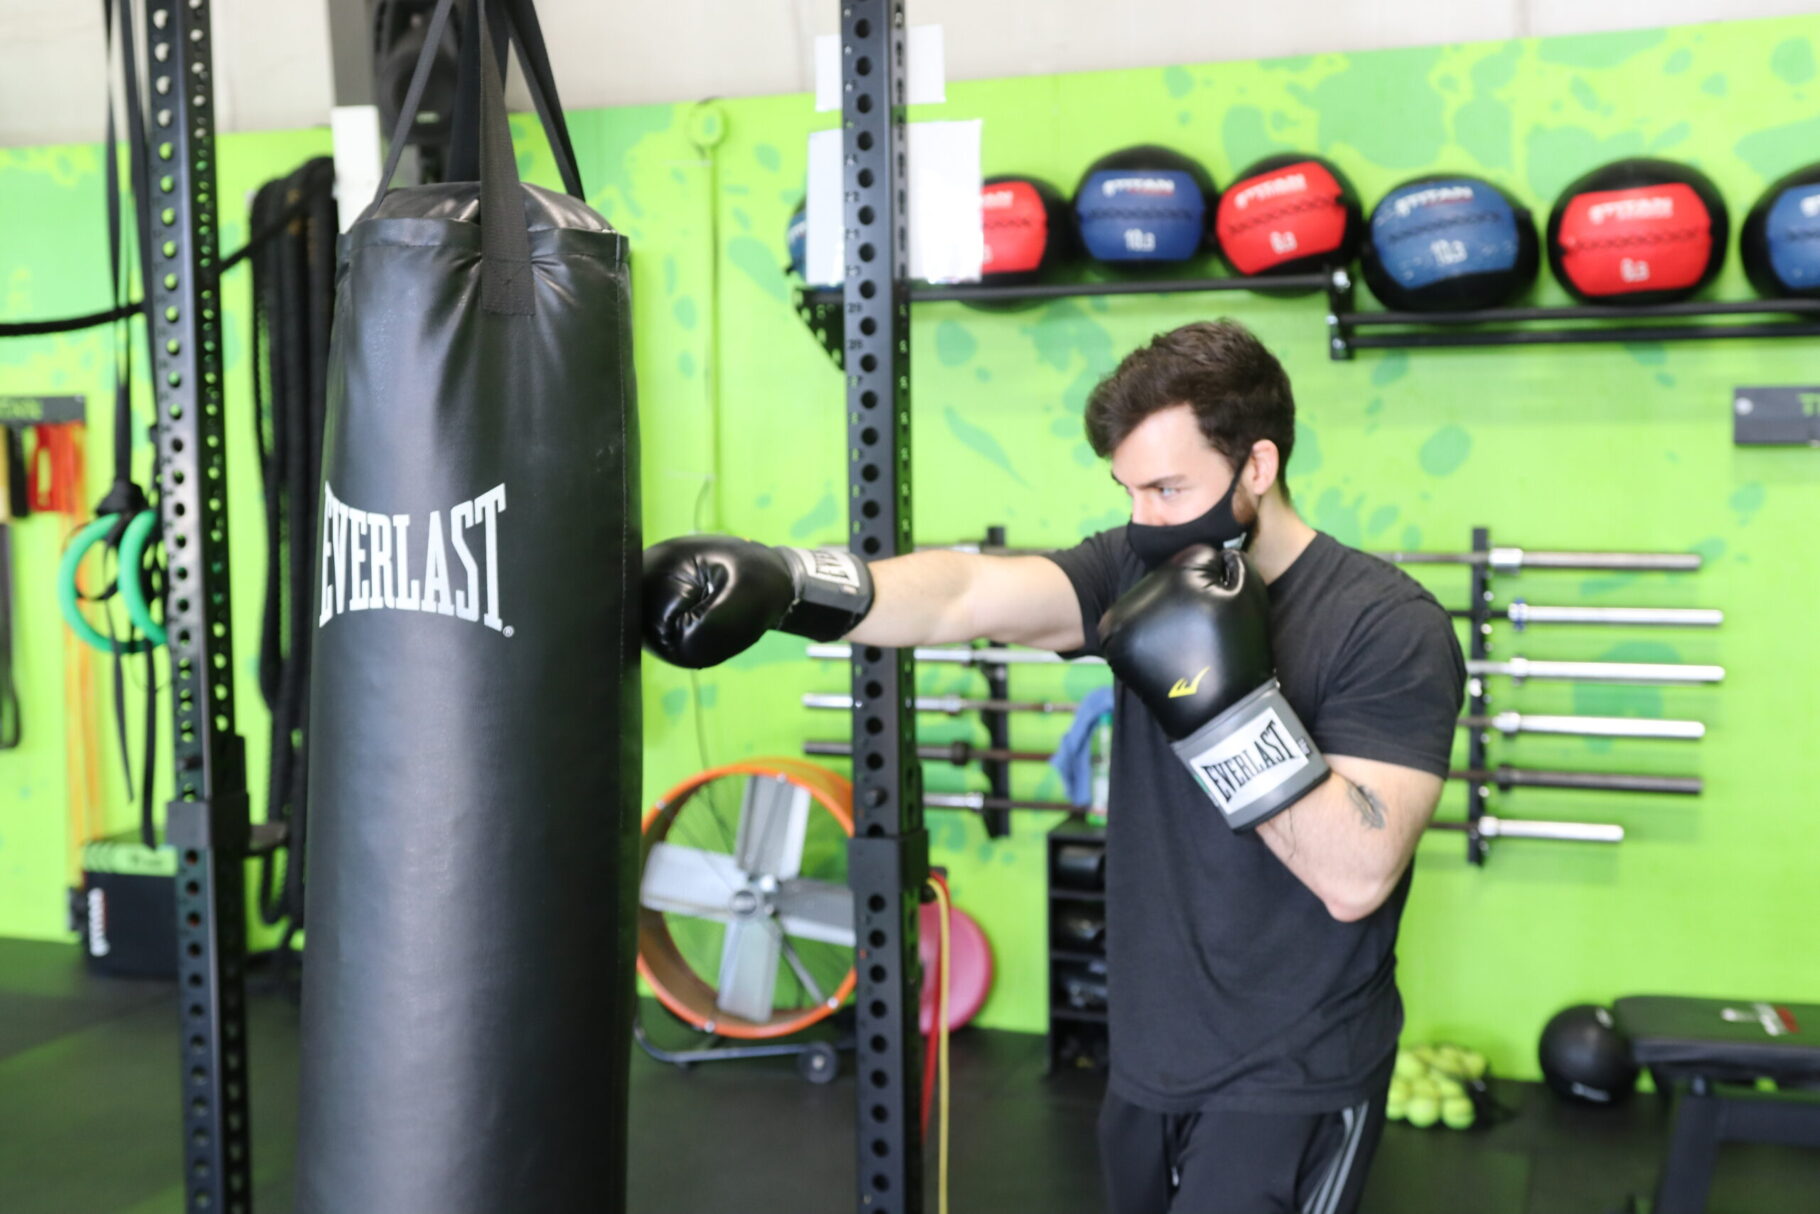
MISTAKE #1: OVEREXTENDING THE ELBOWS!
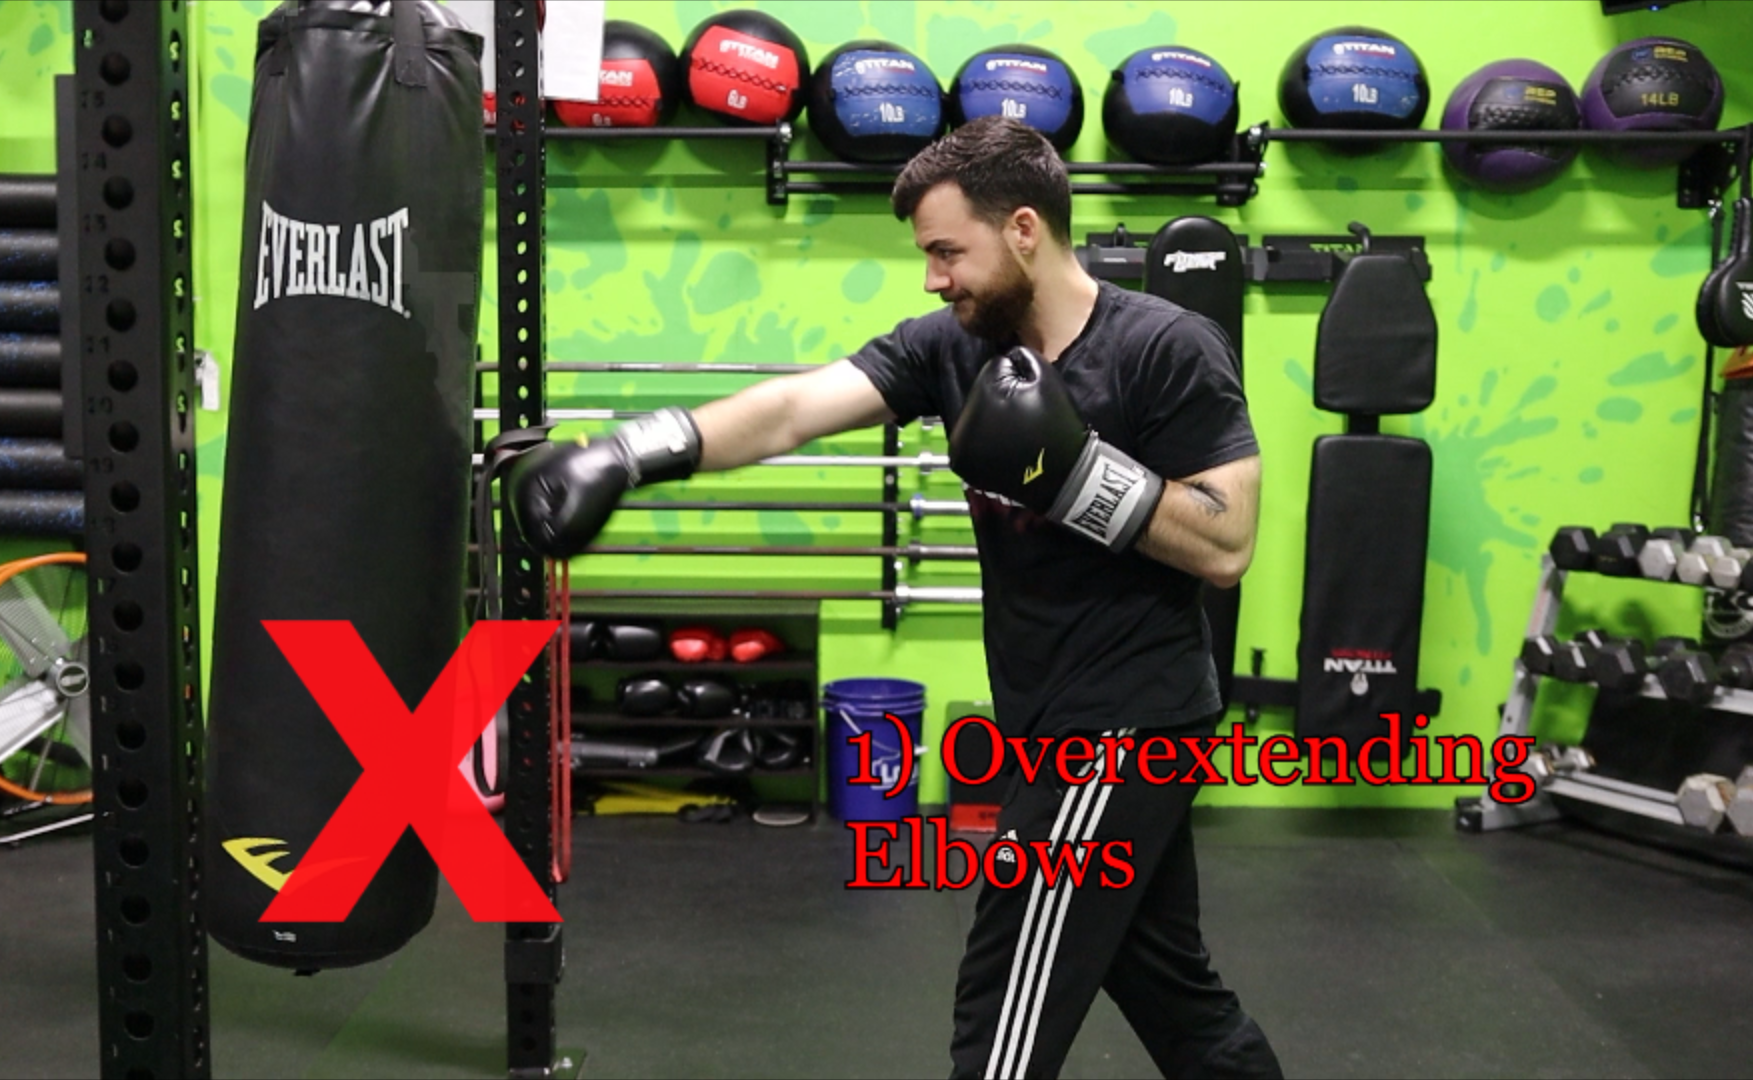
One of the leading causes of injury in boxing comes from hyperextending the elbows when throwing punches. This often comes from misjudging your distance between yourself and the bag you’re using, or just downright improper punching technique.
Always make sure you’re close enough to the bag (or opponent) so that you can hit them with a fully extended jab. Using the jab to assess distance is ideal because if you can hit the target with the extended jab, you’re at a good distance to land all the rest of the punches.
Another common issue is punching with a chopping motion rather than punching straight forwards. A good way to work on this is to imagine punching through a pipe. The punch will have to go straight forwards through the pipe to miss the sides, and will help throw straighter punches.
Make sure to fully extend your punches, as well. Failure to do this will result in far less power/force.
MISTAKE #2: NOT SNAPPING THE PUNCHES BACK AND DROPPING THE HANDS!
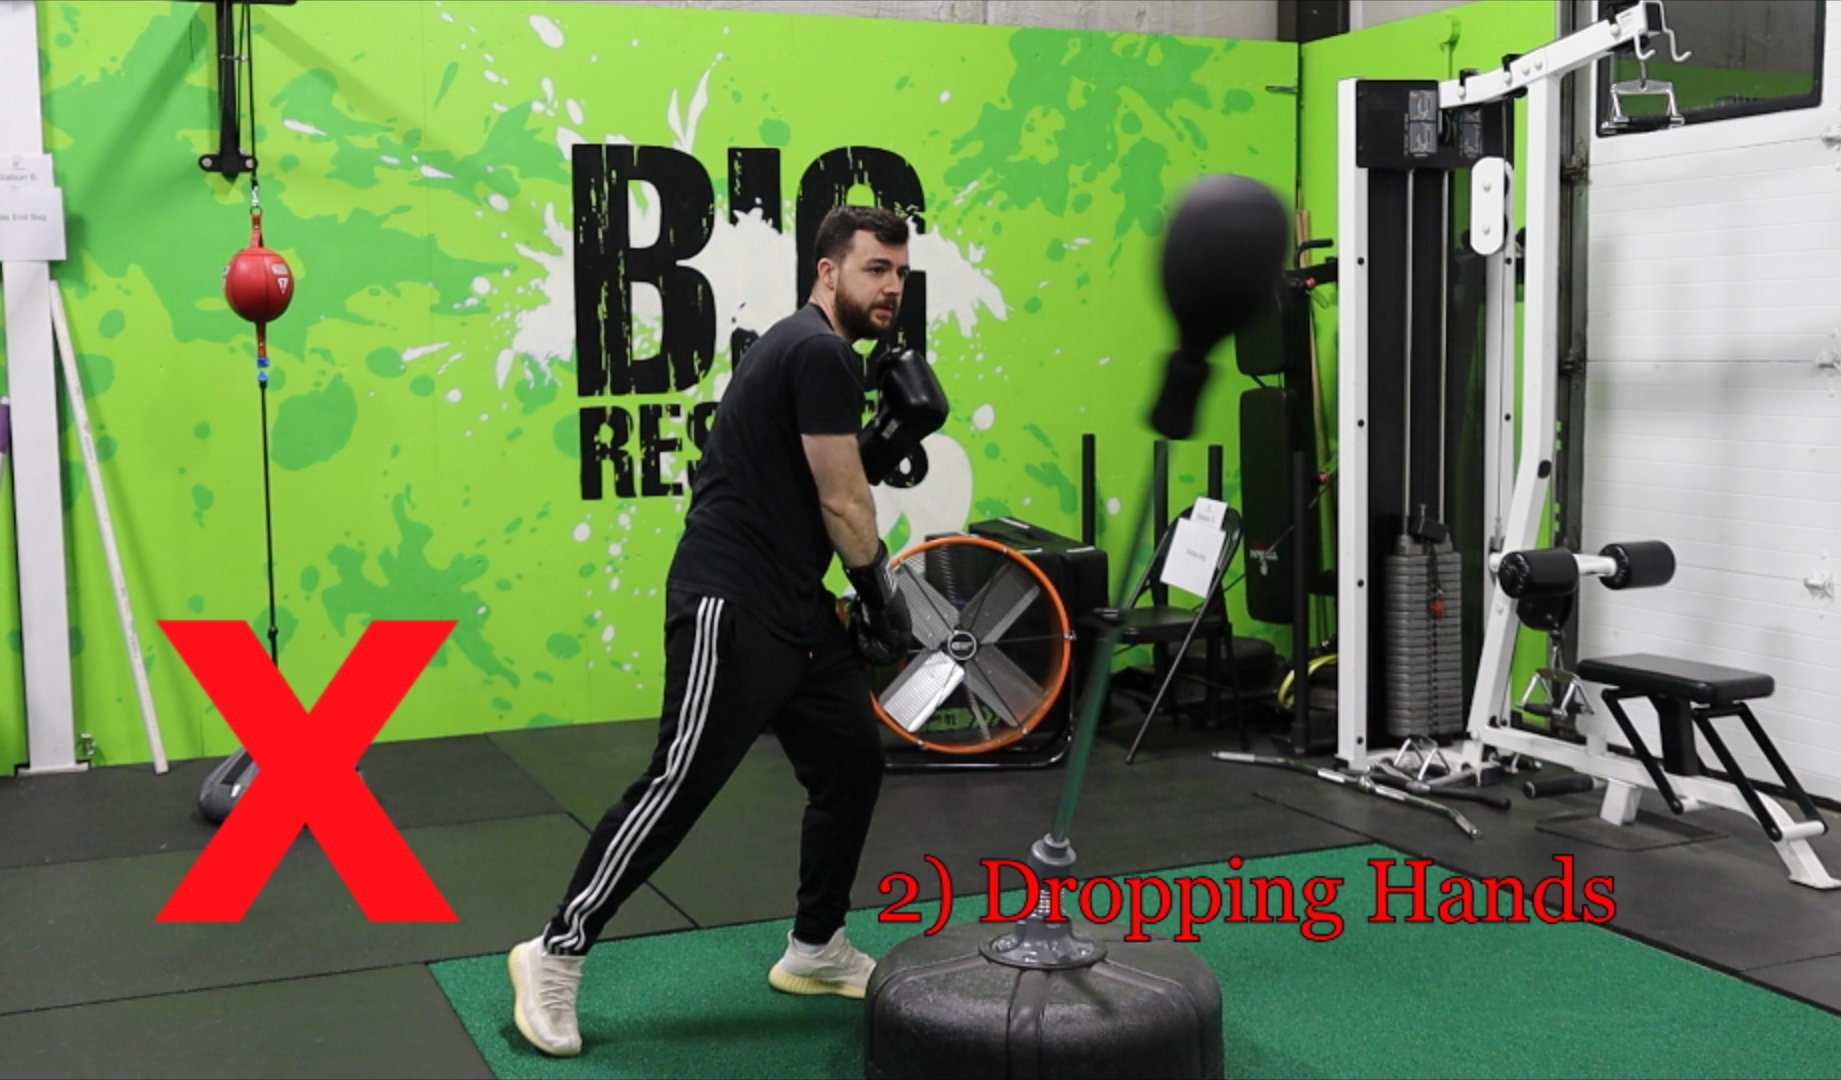
Another mistake I see all the time is throwing punches forwards, and letting them linger out in front. Every punch should be snapped back to the chin right after it’s thrown, as fast as possible. The motion is very similar to that of whipping a towel.. Throw the punch forward, and immediately snap it right back.
This increases the power of the punch, helps make your technique more efficient (getting the punches back quickly is important so you can throw them again if needed), and is also very important for defense. The longer your arm stays extended, the more time your opponent has to come in with a punch to your face/head which is vulnerable.
Always snap the punches back to the chin. Also, if your fist isn’t throwing a punch then it should be besides the chin protecting the head. Oftentimes, I see dropped fists after punches or while slipping. Never let your hands drop down and always bring them right back to that defensive position.
MISTAKE #3: NOT TURNING THE HIPS OR USING THE CORE!
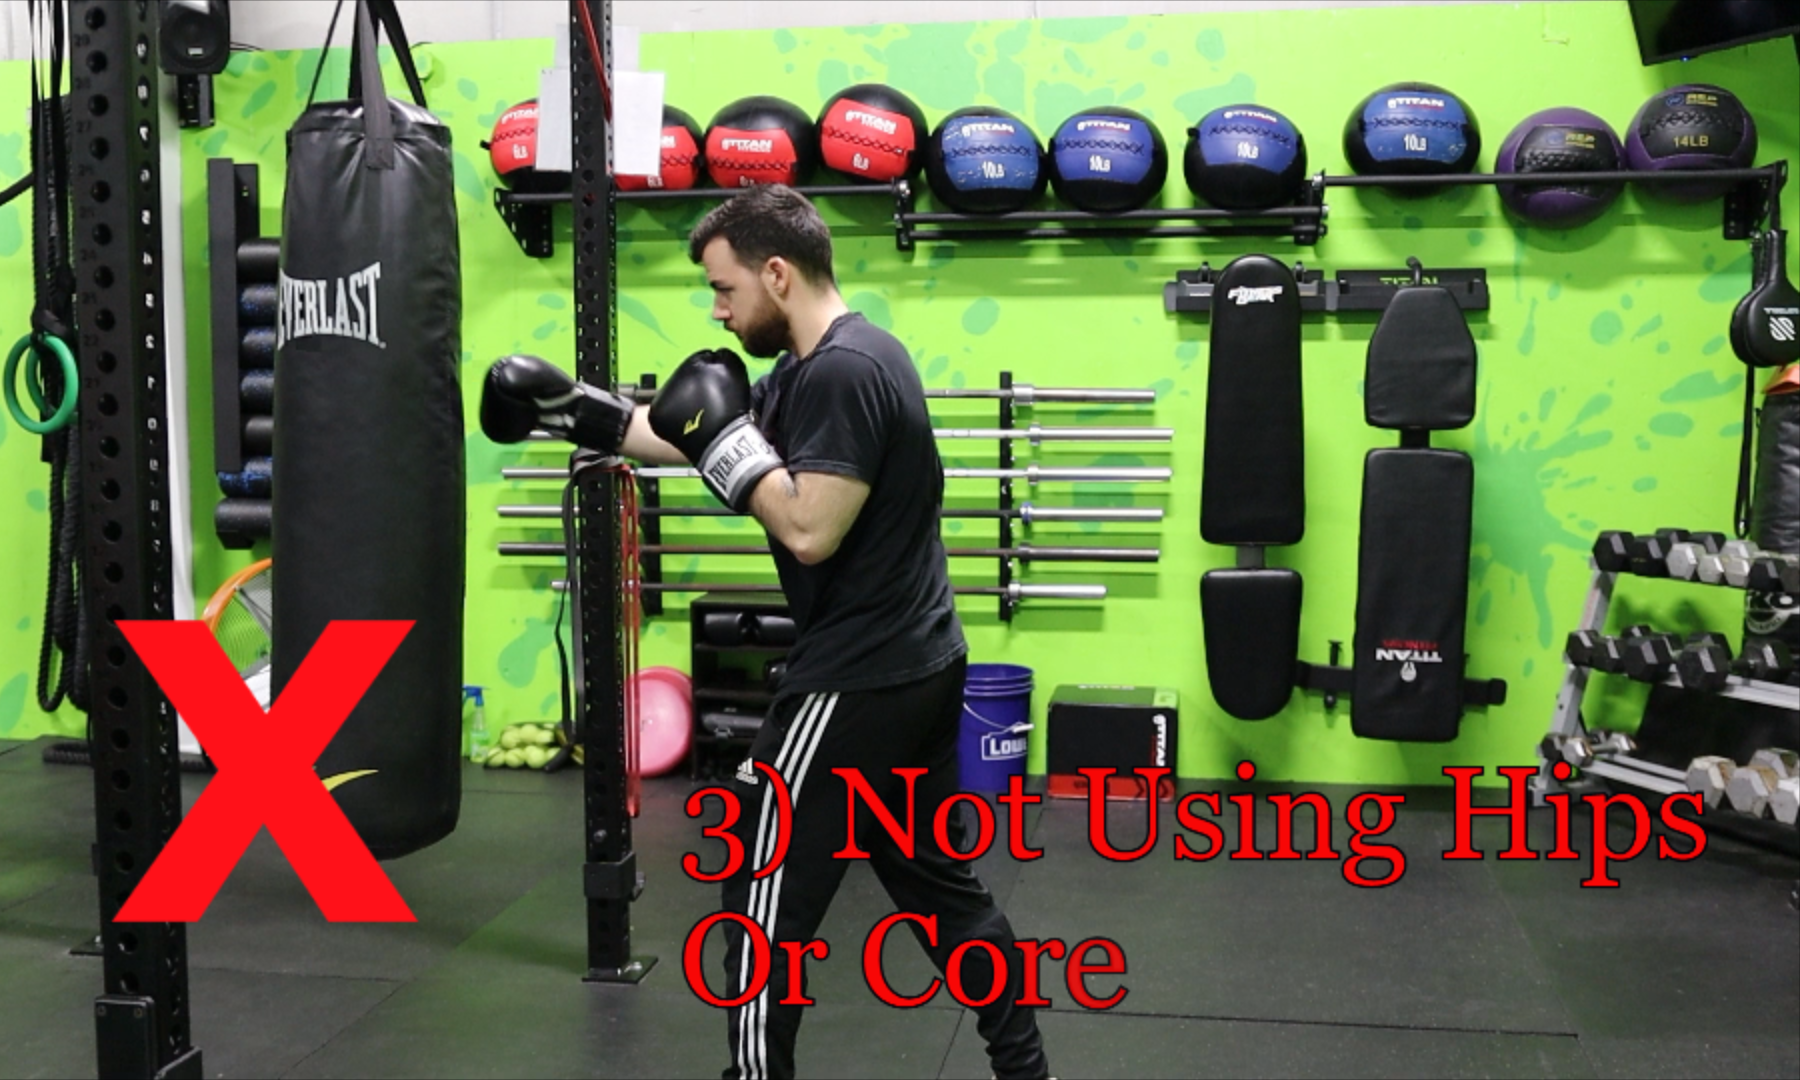
In regards to punching, the majority of your power is generated from the hips. It’s crucial to turn your hips and transfer your weight around to get a lot of power through your punches, and to have efficient technique (especially with the cross and hooks).
When you’re throwing punches, make sure to rotate through your shoulders, AND hips, as well.
This is where hooks can be awkward punches to master at first. I like to think of your core and torso as a spring. When you’re throwing the hook you want to almost load the spring before coming back around. Load the spring by rotating slightly to the opposite direction of the punch, then use the momentum through your core rotating back to add power to the punch.
This is easier and more effective if you throw the hook after another punch that already sets you up in that position (i.e. throwing a 2, then coming back around with a 3).
MISTAKE #4: FEET CROSSING OVER WHEN MOVING AROUND!
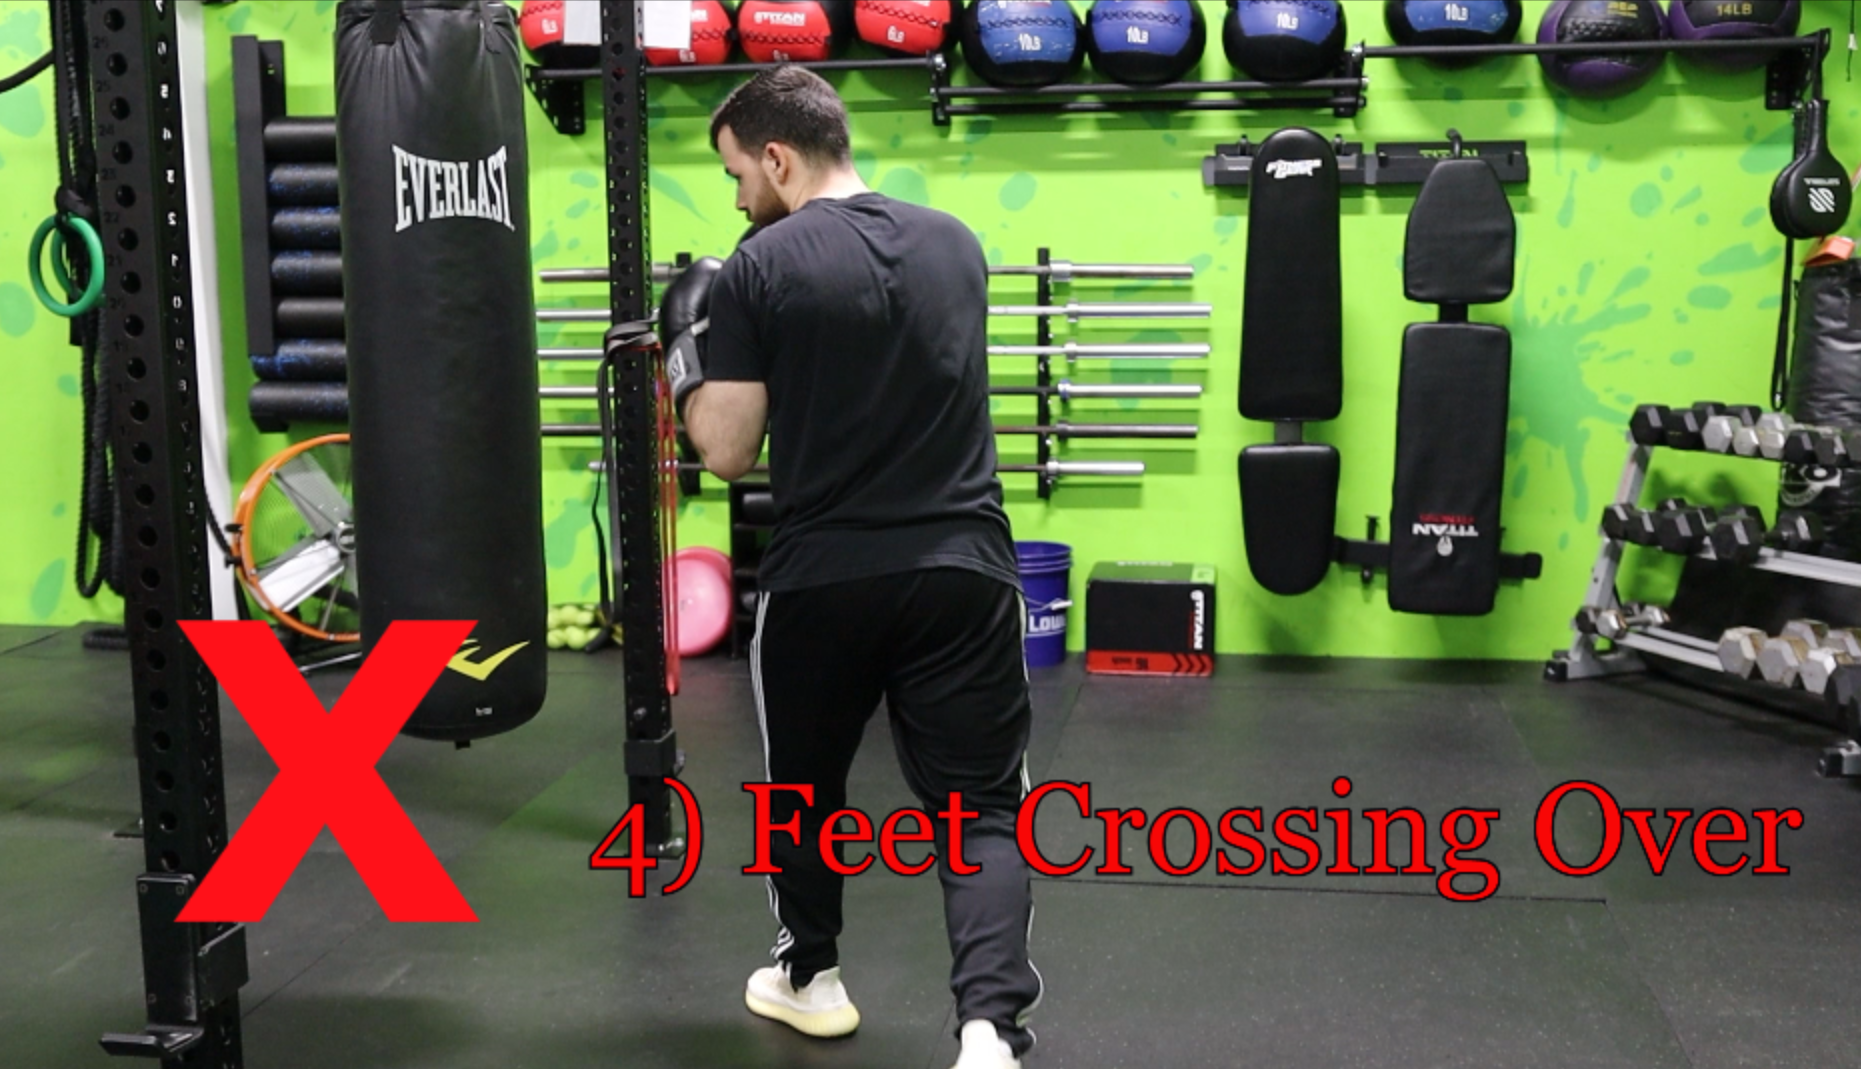
Crossing your feet over one another is never a good idea!. It throws you off balance, and makes you very easy to push over.
You should start a move to any direction with the foot that’s closest to that direction. For example, if you’re a righty and set up in an orthodox stance (left foot out in front, right in back) and you want to move to the left, start by stepping to the left with your left foot then follow with the right.
Opposite to the right, start with the right foot which is already closer to that direction then follow through with the left foot. Moving forwards should always start with the front foot and backwards should start with the back foot.
MISTAKE #5: BREATHING INCORRECTLY!!
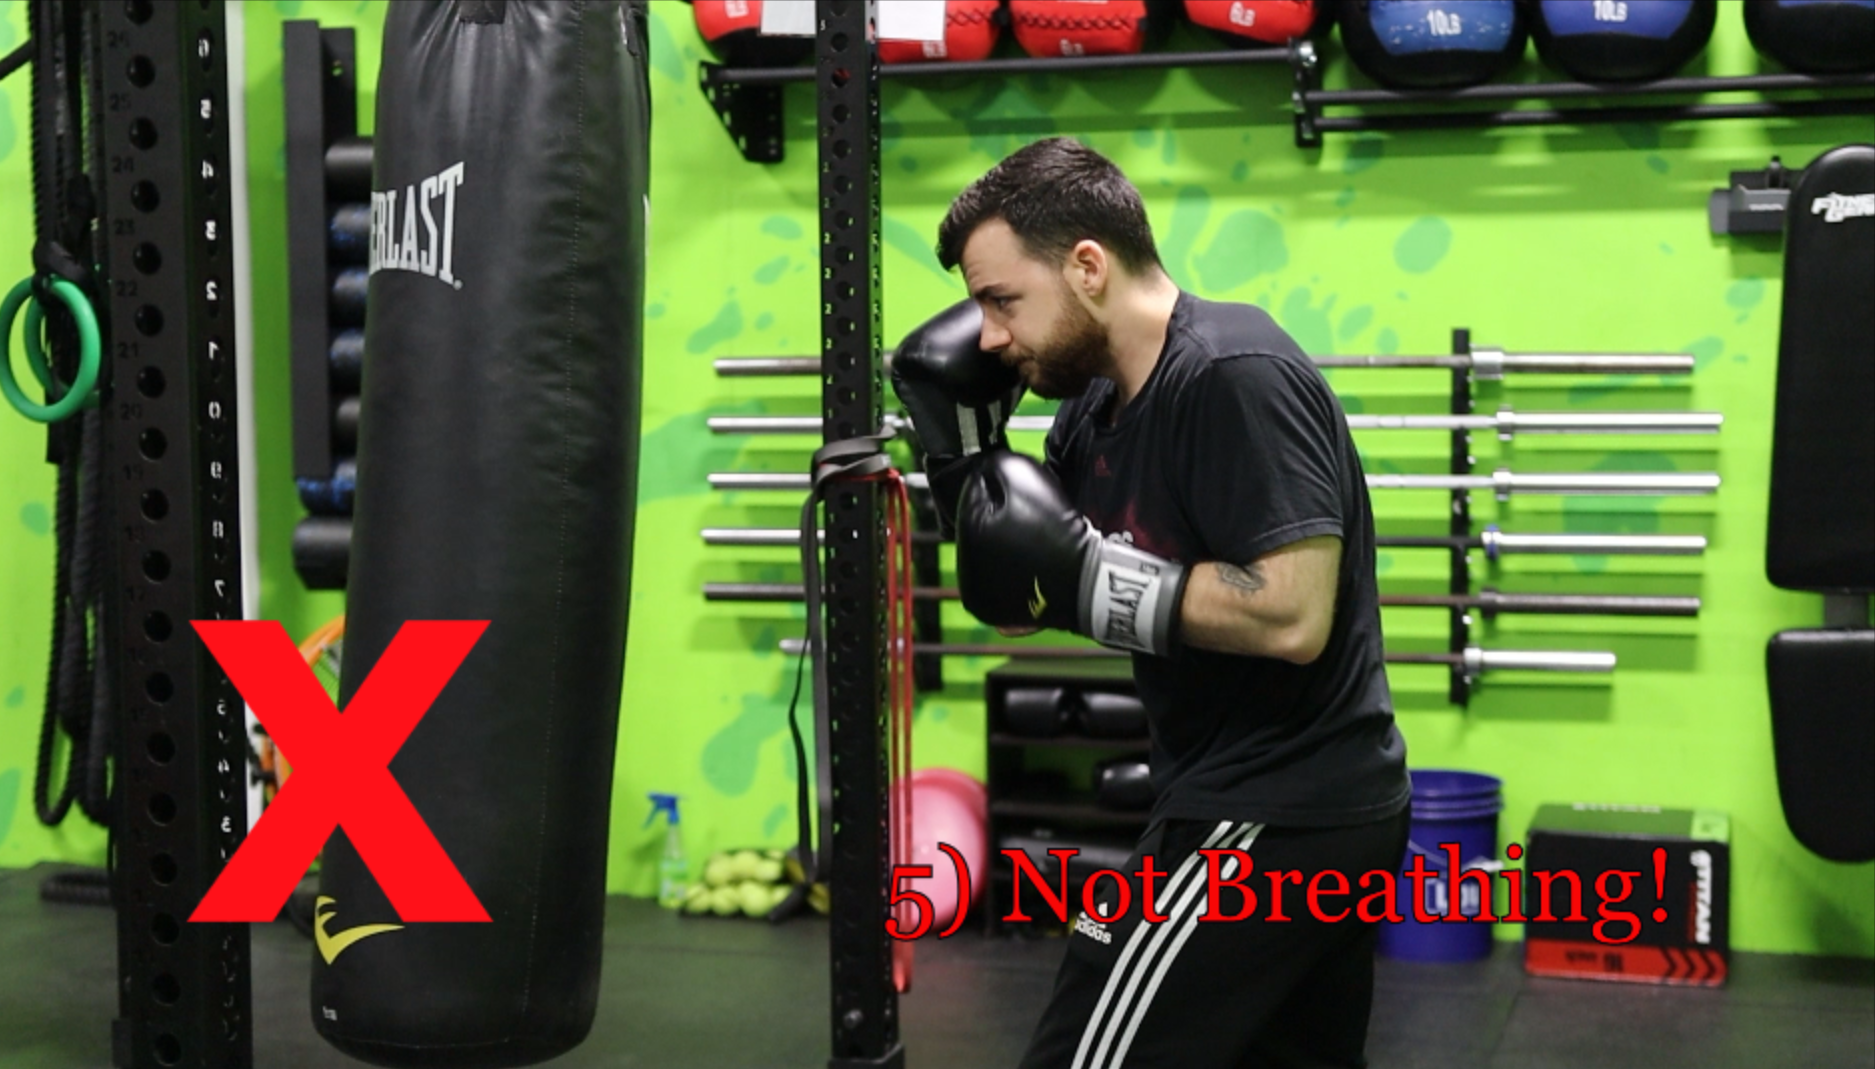
Lastly, I want to talk about something I see most often and commonly overlooked, but is incredibly important. Holding your breath should NEVER happen. Holding your breath through a punch, or through a series of punches is never a good idea.
This will make you winded very quickly. Not something you want to happen in a real fight, or even in a 45 minute class where you throw a TON of punches. Conserving your energy should be one of your top priorities.. You should take quick, small breaths with EVERY punch. This way you’re constantly moving air so you don’t get tired too quickly and it also helps with adding power to the punches. You have deep core muscles that only contract when you forcibly exhale so if you want to use your core to its highest potential…. BREATHE!
Now that you’re aware of some of the top mistakes beginners make when just starting off in boxing, it’s time to get to work! Fixing these up early on is very important. If you can master these 5 key issues with boxing early on, your boxing journey will be much more rewarding.
You’ll be significantly less likely to injure yourself, and you will have the tools to develop great boxing techniques and will solidify them throughout your experience. It’s much better to master the basics early rather than later when you’ve practiced the incorrect way for so long that it’ll take forever to unlearn everything, then retrain. Now that you know these 5 top beginner boxing mistakes and how to correct them, practice, practice, and practice some more, and I look forward to seeing you in boxing class!!
Mike grew up as a multi-sport athlete and received his Bachelors in Kinesiology (Exercise Science) and also received his Personal Training Certification from the American Council of Sports Medicine.
Mike has worked with a wide range of ages and abilities and is an expert at working around injuries and helping those individuals reach their health goals.
In his time in college, he also worked with D1 Athletes (specifically the UMASS Amherst Men and Women’s Basketball teams) helping them get stronger, faster, and more athletic.
April 22, 2021
Boxing Basics: Knowing Your Punches!
You’ve learned how to wrap your wrists to protect your hands, you’ve learned about setting up your boxing stance and you saw the video about how our Hybrid boxing class works… As you’re walking into your first class, you see all these stations with random numbers and have no idea what they mean. This article is going to dive into the 6 main boxing punches and how they’re integrated into each station we offer here.
Left Handed vs Right Handed
There are 6 basic punches we use in boxing class here at Hybrid. Each punch corresponds with a number and each station has a combination of those numbers to form a boxing combo you use to workout with.
If you’re right handed, any odd numbered punches are thrown with your left hand. Even numbered punches are thrown with the right.
If you’re left handed, any odd numbered punches are thrown with your right hand. Even numbered punches are thrown with the left.
Think about your non-dominant hand matching up with odd numbered punches. Dominant hand matches up with any of the even numbered punches.
The Punches
1- The Jab
The jab is a light punch that will be thrown with the non-dominant hand. It’s the first of the punches that are straight out and should be lighter.
2- The Cross
Next is the cross! A powerful punch that is thrown with the dominant hand and the second punch that is thrown straight out.
(Straight out punches are quick and need to be snapped back to the chin after. Kind of like a towel whip)
3- Non-Dominant Hook

This punch is thrown with the non-dominant hand and comes in from the side. Think about cutting the bag completely horizontally. Elbow & forearm stay parallel to the ground. Palm face down or face in towards yourself (whichever feels better to you, doesn’t make a big difference)
4- Dominant Hook

This punch is thrown with the dominant hand and comes in from the side (same as above).
5- Non-Dominant Uppercut
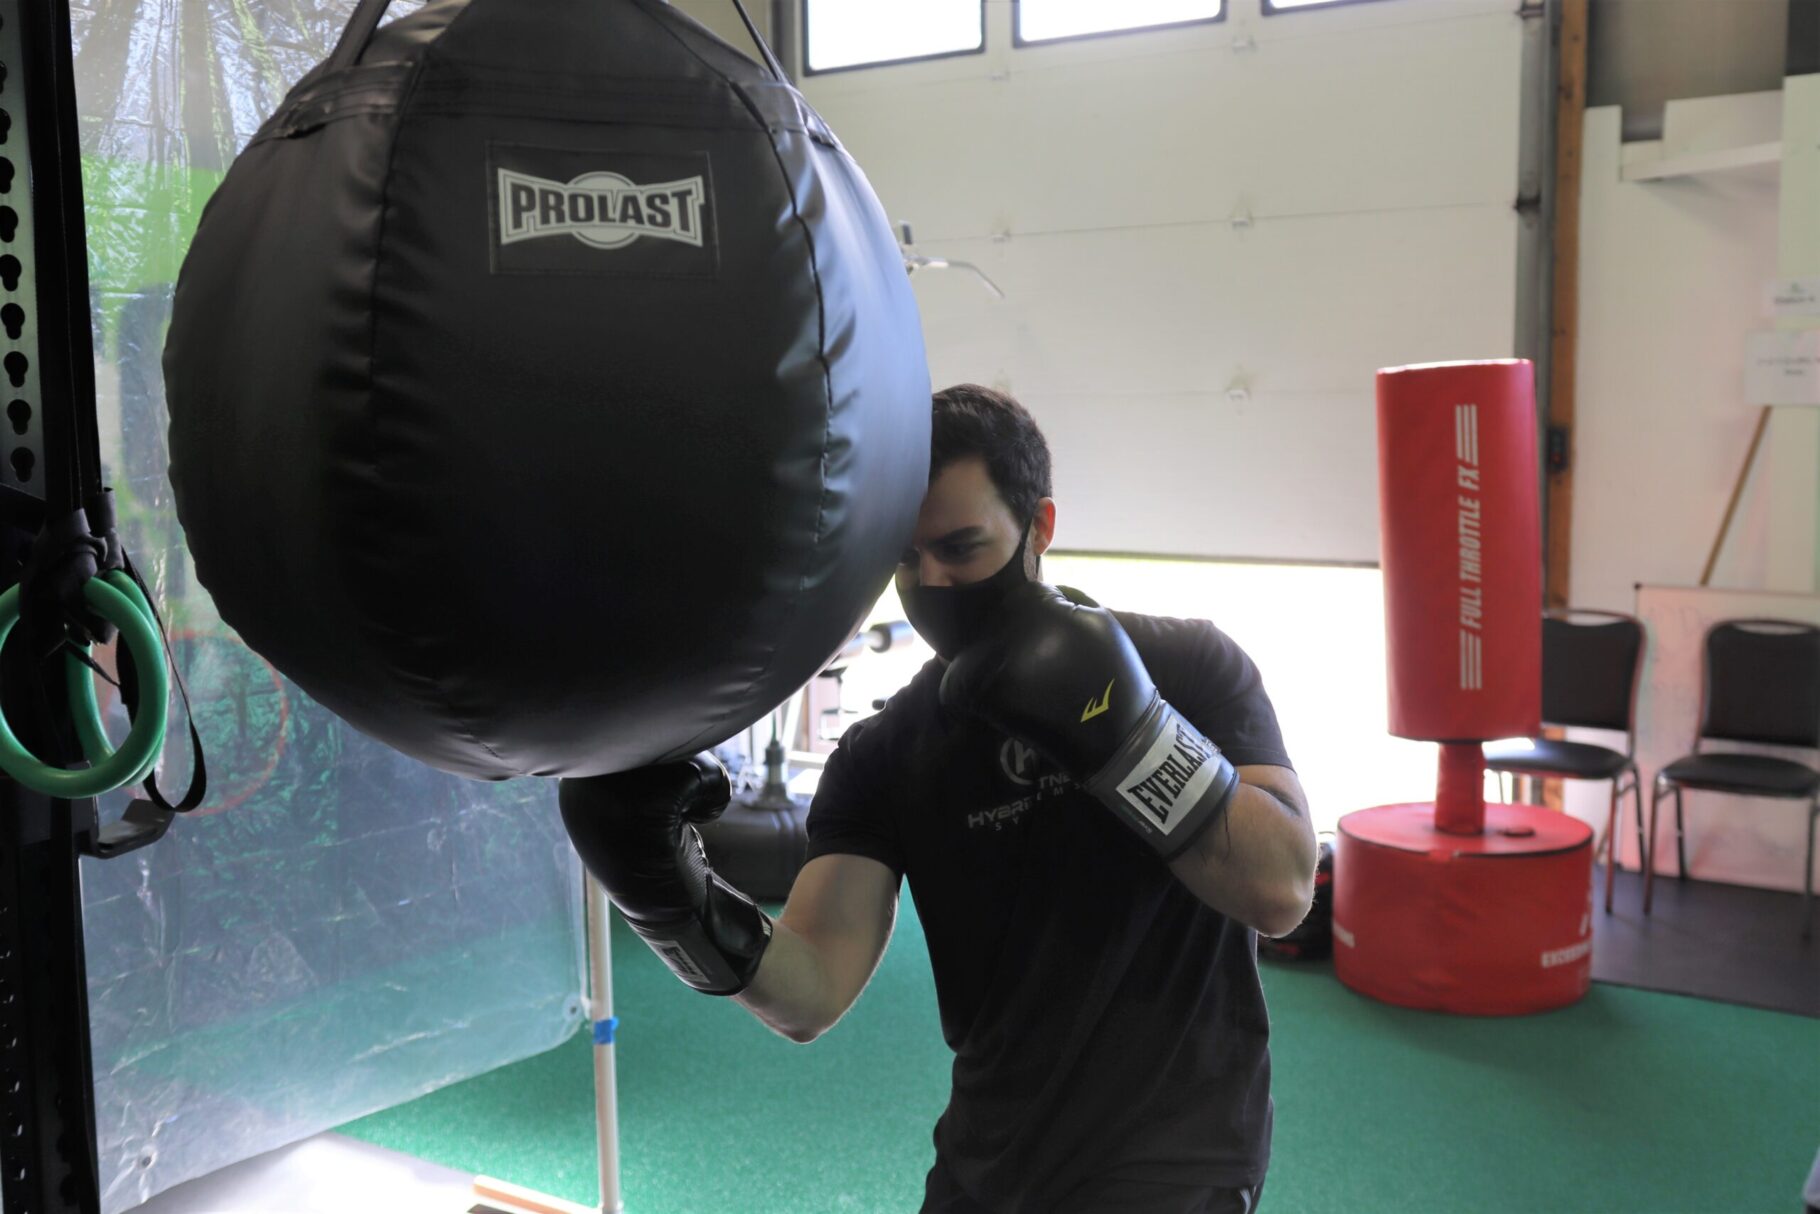
This punch is thrown with the non-dominant hand and is thrown straight upwards. Elbow/forearm should be perpendicular to the ground. You can get underneath the bag with our wrecking ball bag (Station 3) but if you’re throwing an uppercut on a regular heavy bag, think about cutting the bag diagonally from low to high.
6- Dominant Uppercut
This punch is the same as above except with the dominant side.
Four Things To Watch Out For When Throwing A Punch!
-No hyperextended elbows!! Also, always assess your distance from the bag before you throw a punch.
-Make sure to keep wrists tight and don’t let them extend when making contact with the bag.
-Step in to get underneath the wrecking ball bag.
-Make sure to take a short quick breath every time you punch so you don’t get winded!
Practicing these 6 punches, and using the combinations of them will help you remember which number matches up with which punch. Shadowboxing, or boxing and throwing the punches in the air (not on a bag) is a great way to practice the punches and help memorize them. Now the more you practice them, the easier they will flow and once you’ve mastered the six basic punches you can start to work on adding more power to your punches, harder combinations and adding things like kicking in!
Check out all of our other boxing, fitness, and health articles here!
Check out our YouTube channel here!
And remember….
Small Steps, Big Results!
Mike grew up as a multi-sport athlete and received his Bachelors in Kinesiology (Exercise Science) and also received his Personal Training Certification from the American Council of Sports Medicine.
Mike has worked with a wide range of ages and abilities and is an expert at working around injuries and helping those individuals reach their health goals.
In his time in college, he also worked with D1 Athletes (specifically the UMASS Amherst Men and Women’s Basketball teams) helping them get stronger, faster, and more athletic.
March 19, 2021
Your First Hybrid Fitness Boxing Class!
So, you signed up for a boxing class, but you’ve never thrown a punch before. We cover everything you need in order to prepare you for your first boxing class. You’ll be floatin’ like a butterfly, and stingin’ like a bee in no time!
How Does The Class Work?
There are eight stations total, consisting of various types of punching & kicking bags, as well as a few exercise stations. Let’s take a look at what we have!
This Class is 45 minutes long, and consists of a warm up, rotation around each station, ~2 minute rest period, another rotation through each station, then a quick cool down/stretch to end the class.
Everyone works at their own pace, and nobody is expected to be working as hard as possible the entire time (although you’re more than welcome to). If you need to take a break, please do! There are a ton of benefits to boxing, including increased stamina, endurance, and confidence (larger list below)! Plus it’s always fun to punch stuff after a long day at work!
THE STATIONS!
STATION 1:
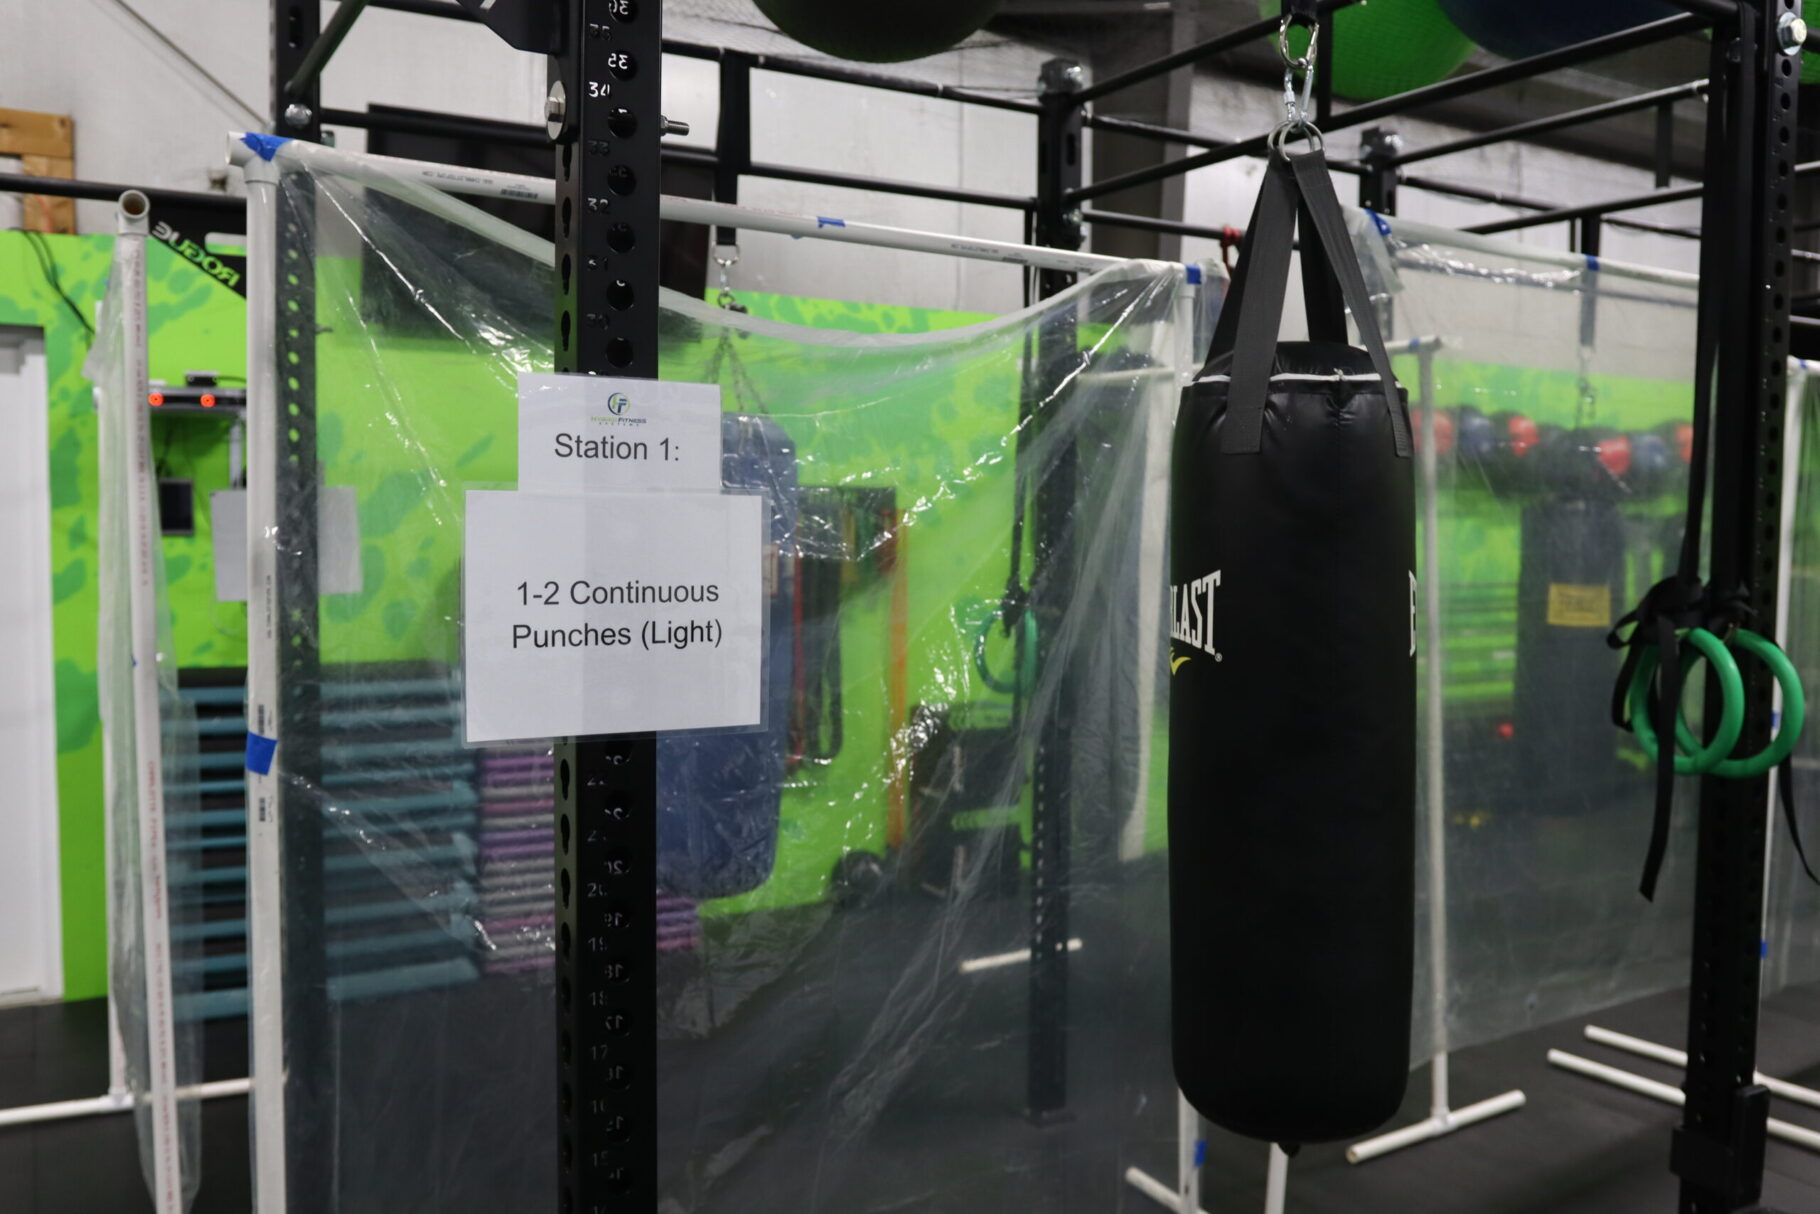
1-2 Continuous Heavy Bag (Light, continuous punches – only 1’s & 2’s) Good for endurance, and gives you an easier bag/break from the combos & heavy hitting punches.
STATION 2:
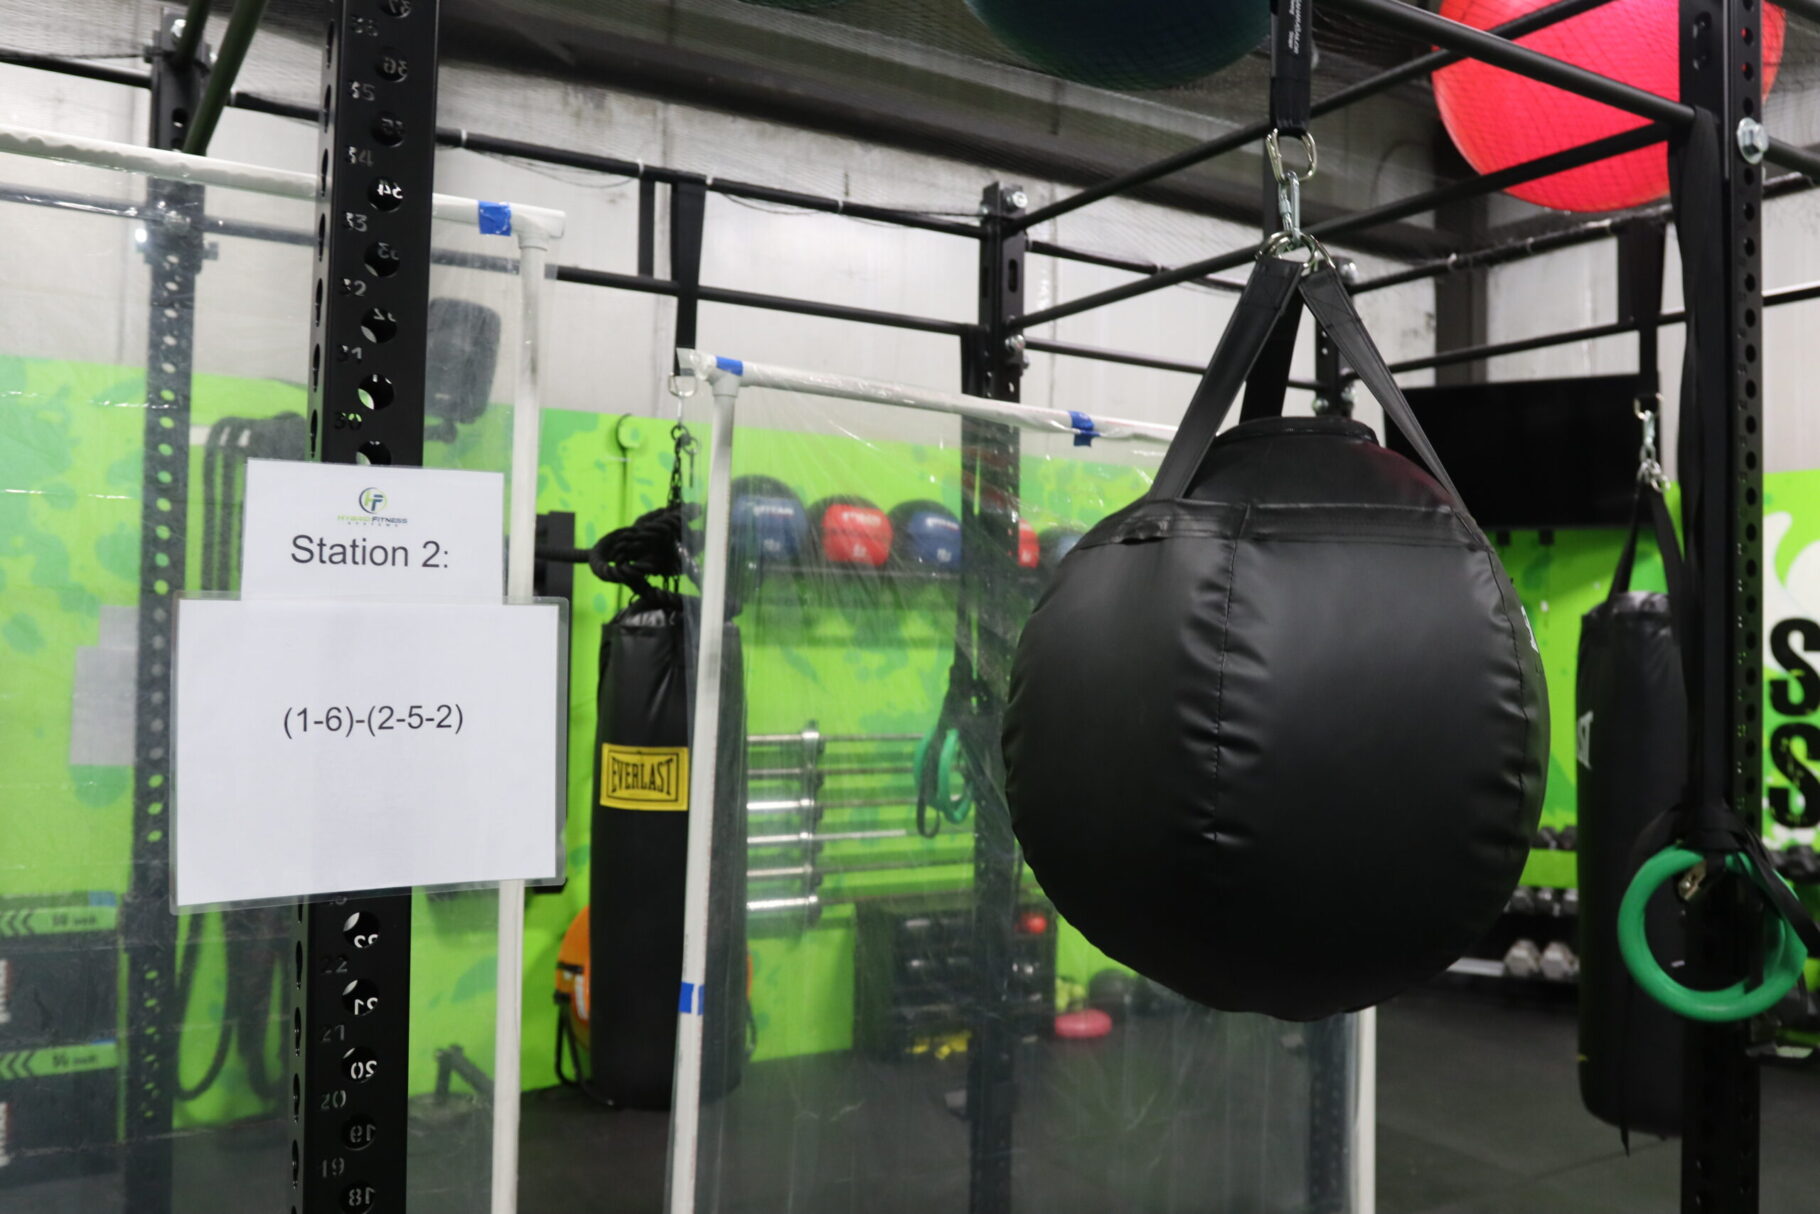
Wrecking Ball Bag (Uppercut-focused combinations on this bag) Great bag to practice uppercut punches. You can actually get underneath the bag, making it a great addition.
STATION 3:
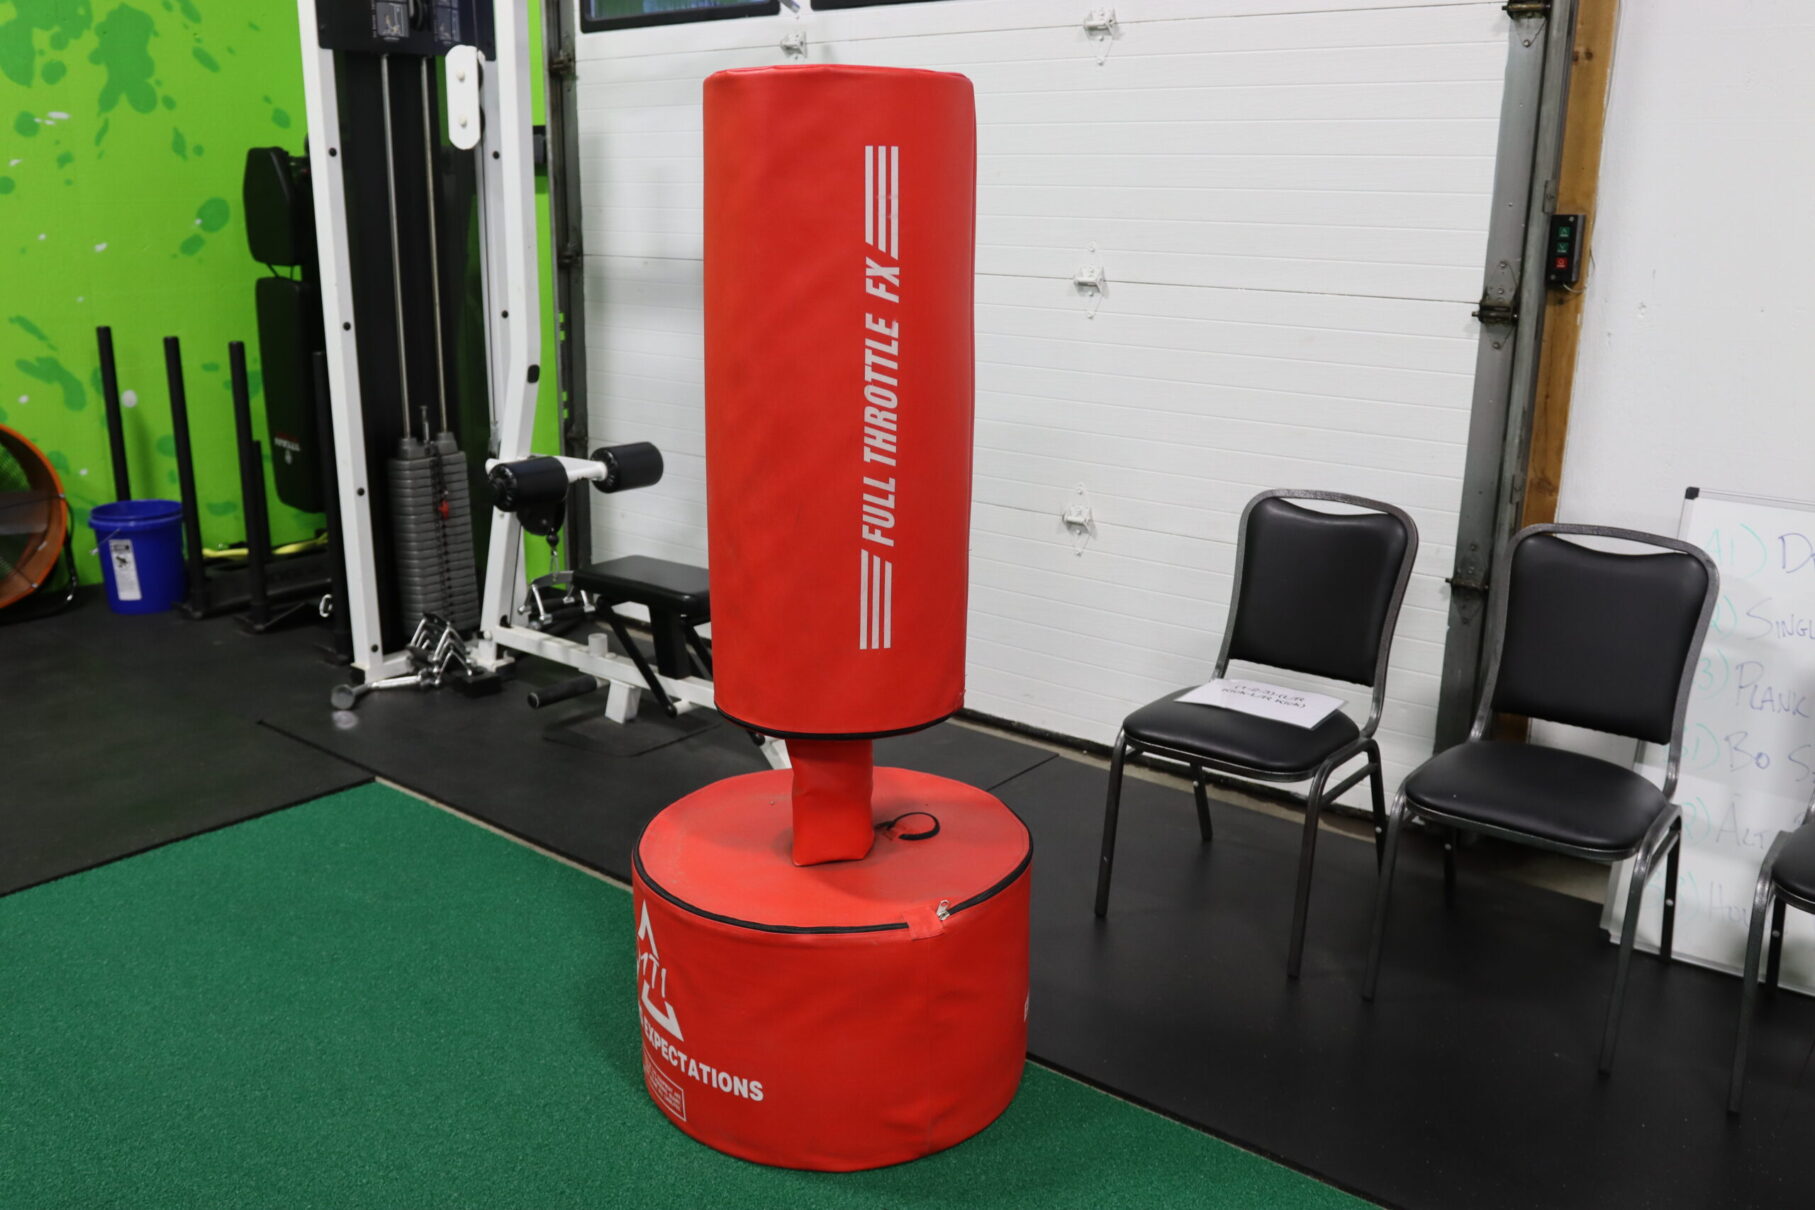
Kickboxing Bag (The only bag we use for kicking combinations) This bag is our kicking bag, and is perfect for adding some leg work into different boxing style combinations.
STATION 4:
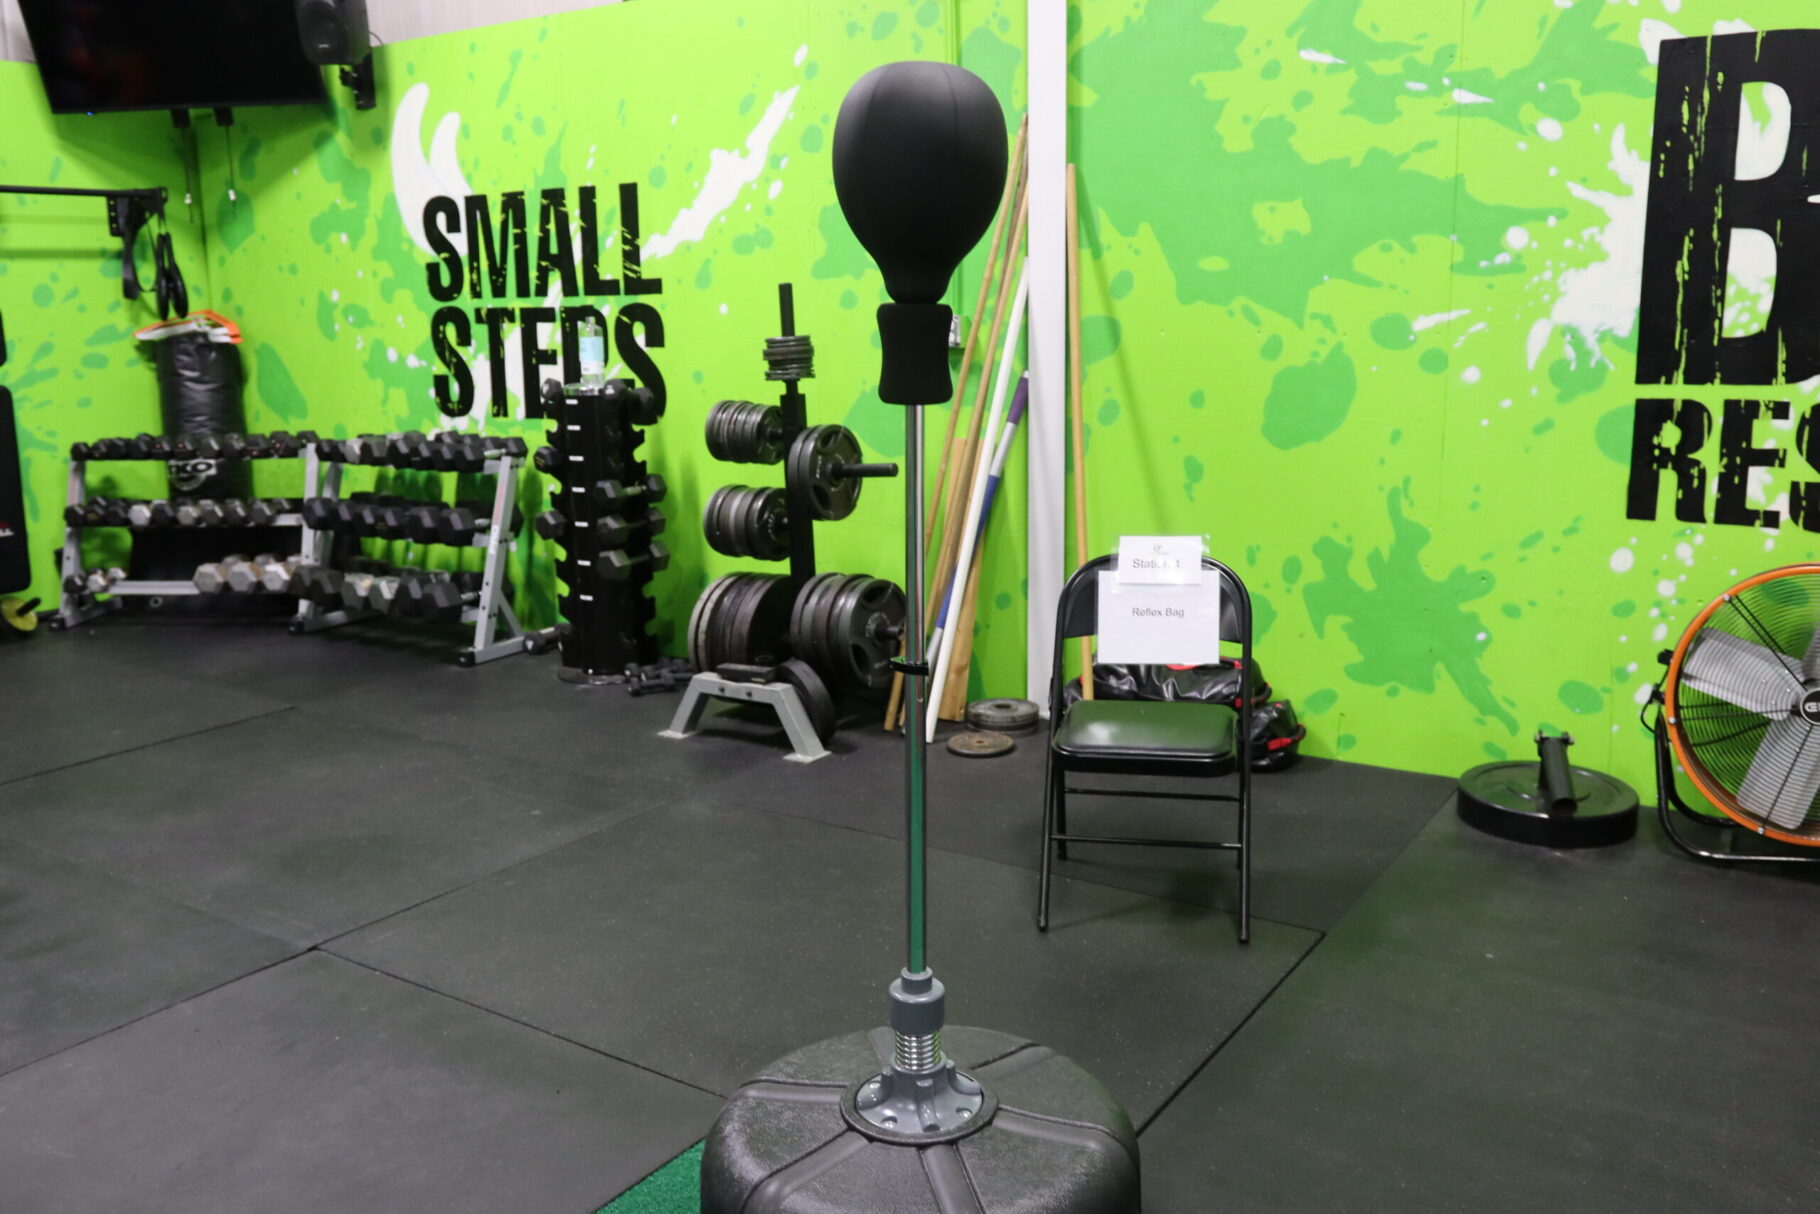
Reflex Bag (Smaller bag on a spring so it’s one of the only bags that actually fights back!) Great for working on hand-eye coordination, and reflexes. The bag is on a spring, so it moves back and forth, and will come back at you just as hard as you hit it!
STATION 5:
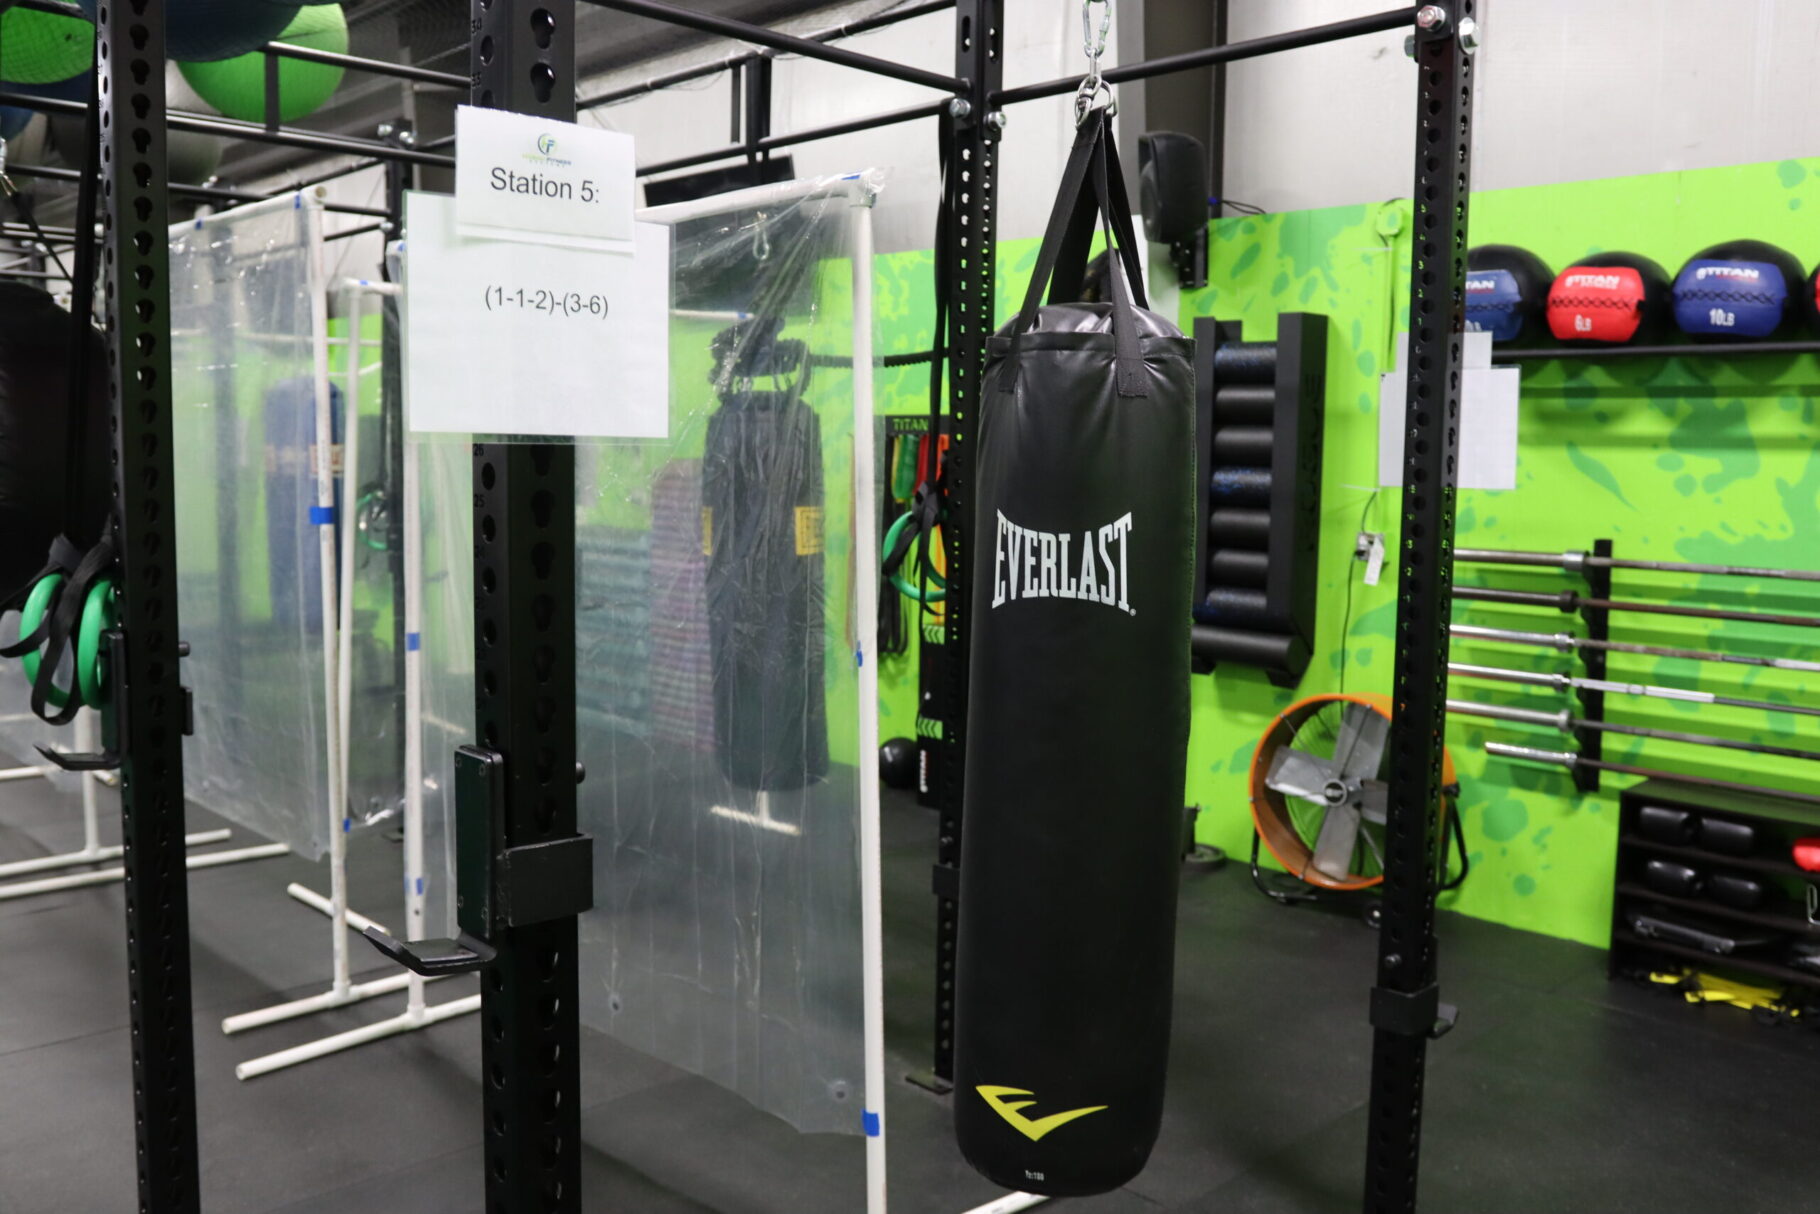
Medium Heavy Bag (This is a nice medium density heavy bag with a relatively easy combination) This bag has a combination that is easier, flows really well, and is a good density to build some strength & power into your punches.
STATION 6:
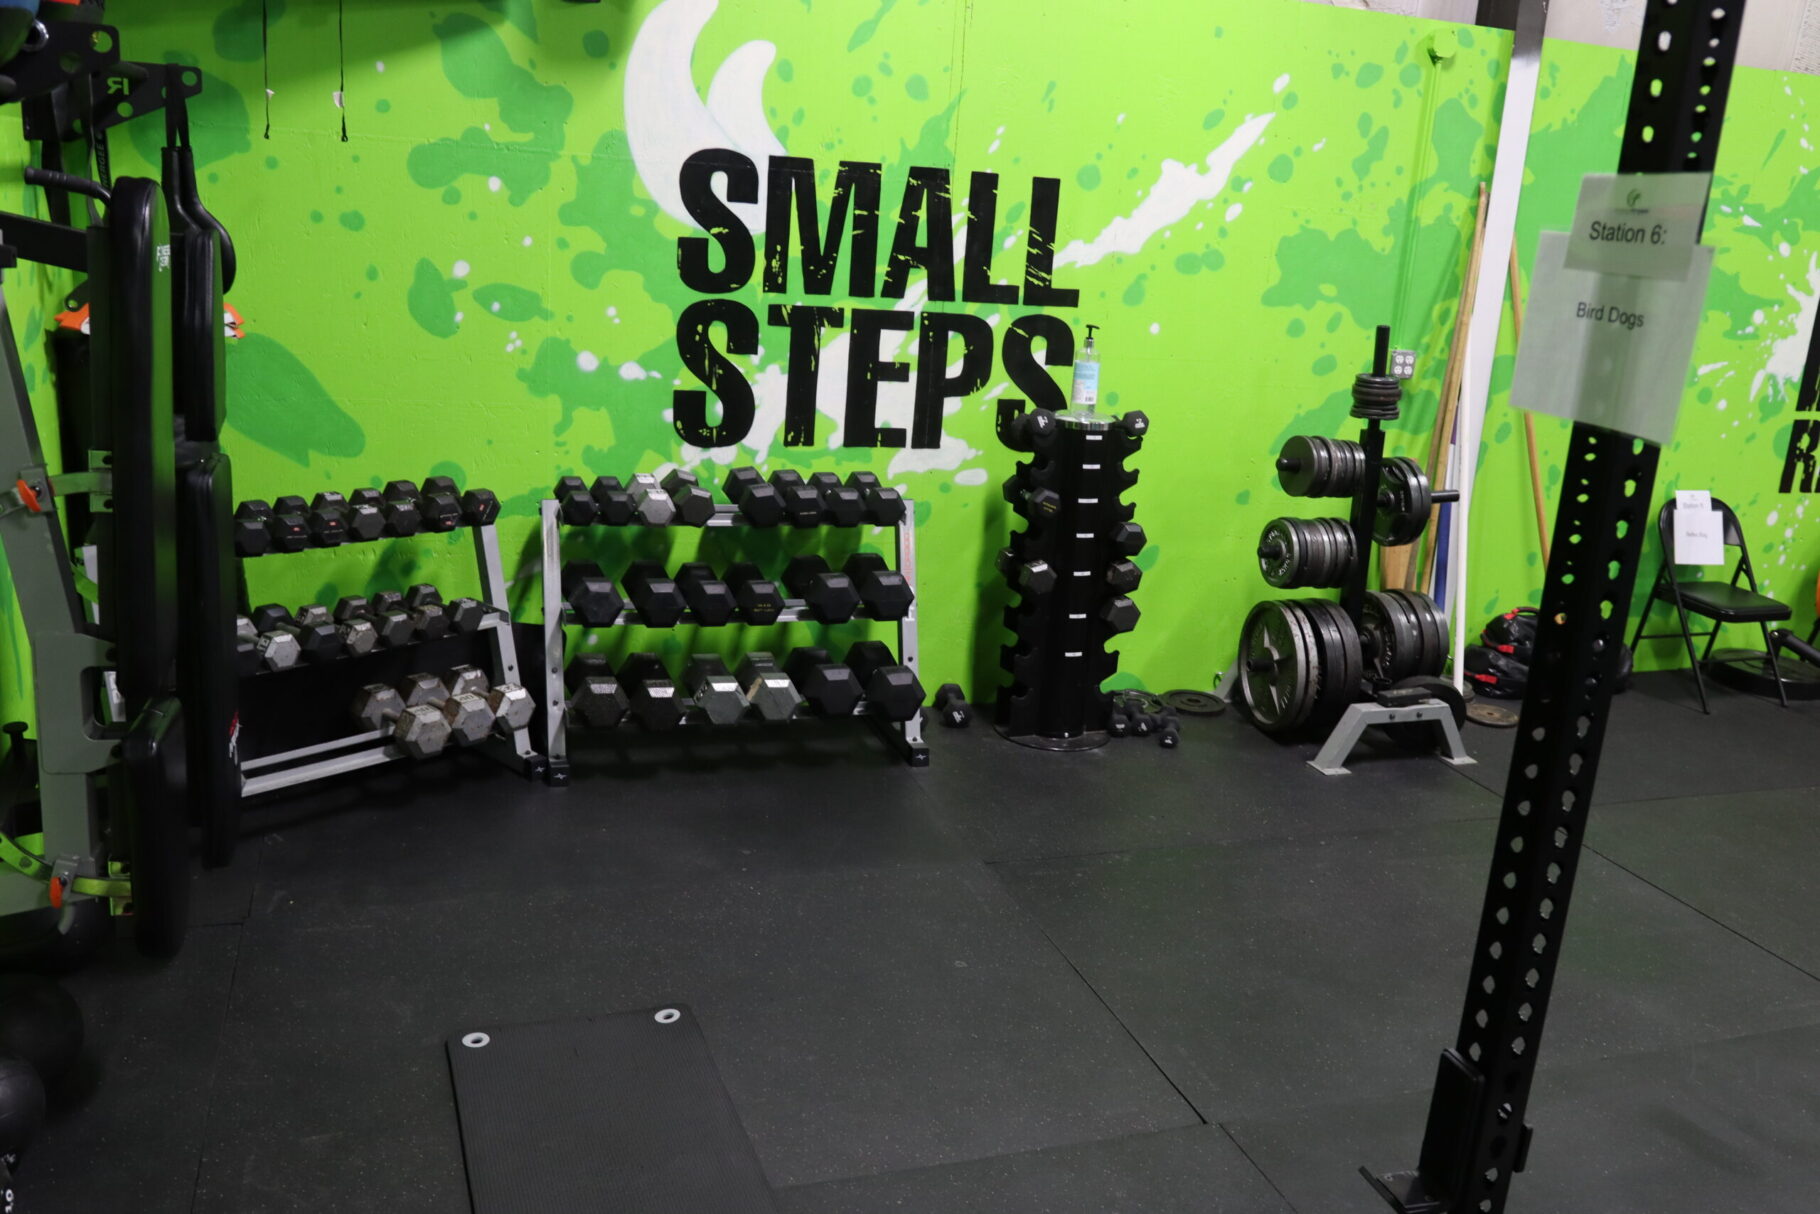
Exercise Station (This station always has an exercise that usually incorporates core or legs) There is some form of boxing involved in most of the exercises, but this station focuses on building core stability/strength, or working on legs to give the upper body a break while working around the circuit.
STATION 7:

Freestyle/Head Movement Bag (This bag has a rope hanging down in the middle forcing you to practice some head movement) There is a rope hanging right in the middle of the bag so you have to slip underneath and work side to side instead of staying stationary. This is also a freestyle bag you can practice whatever combinations you’d like on!
STATION 8:
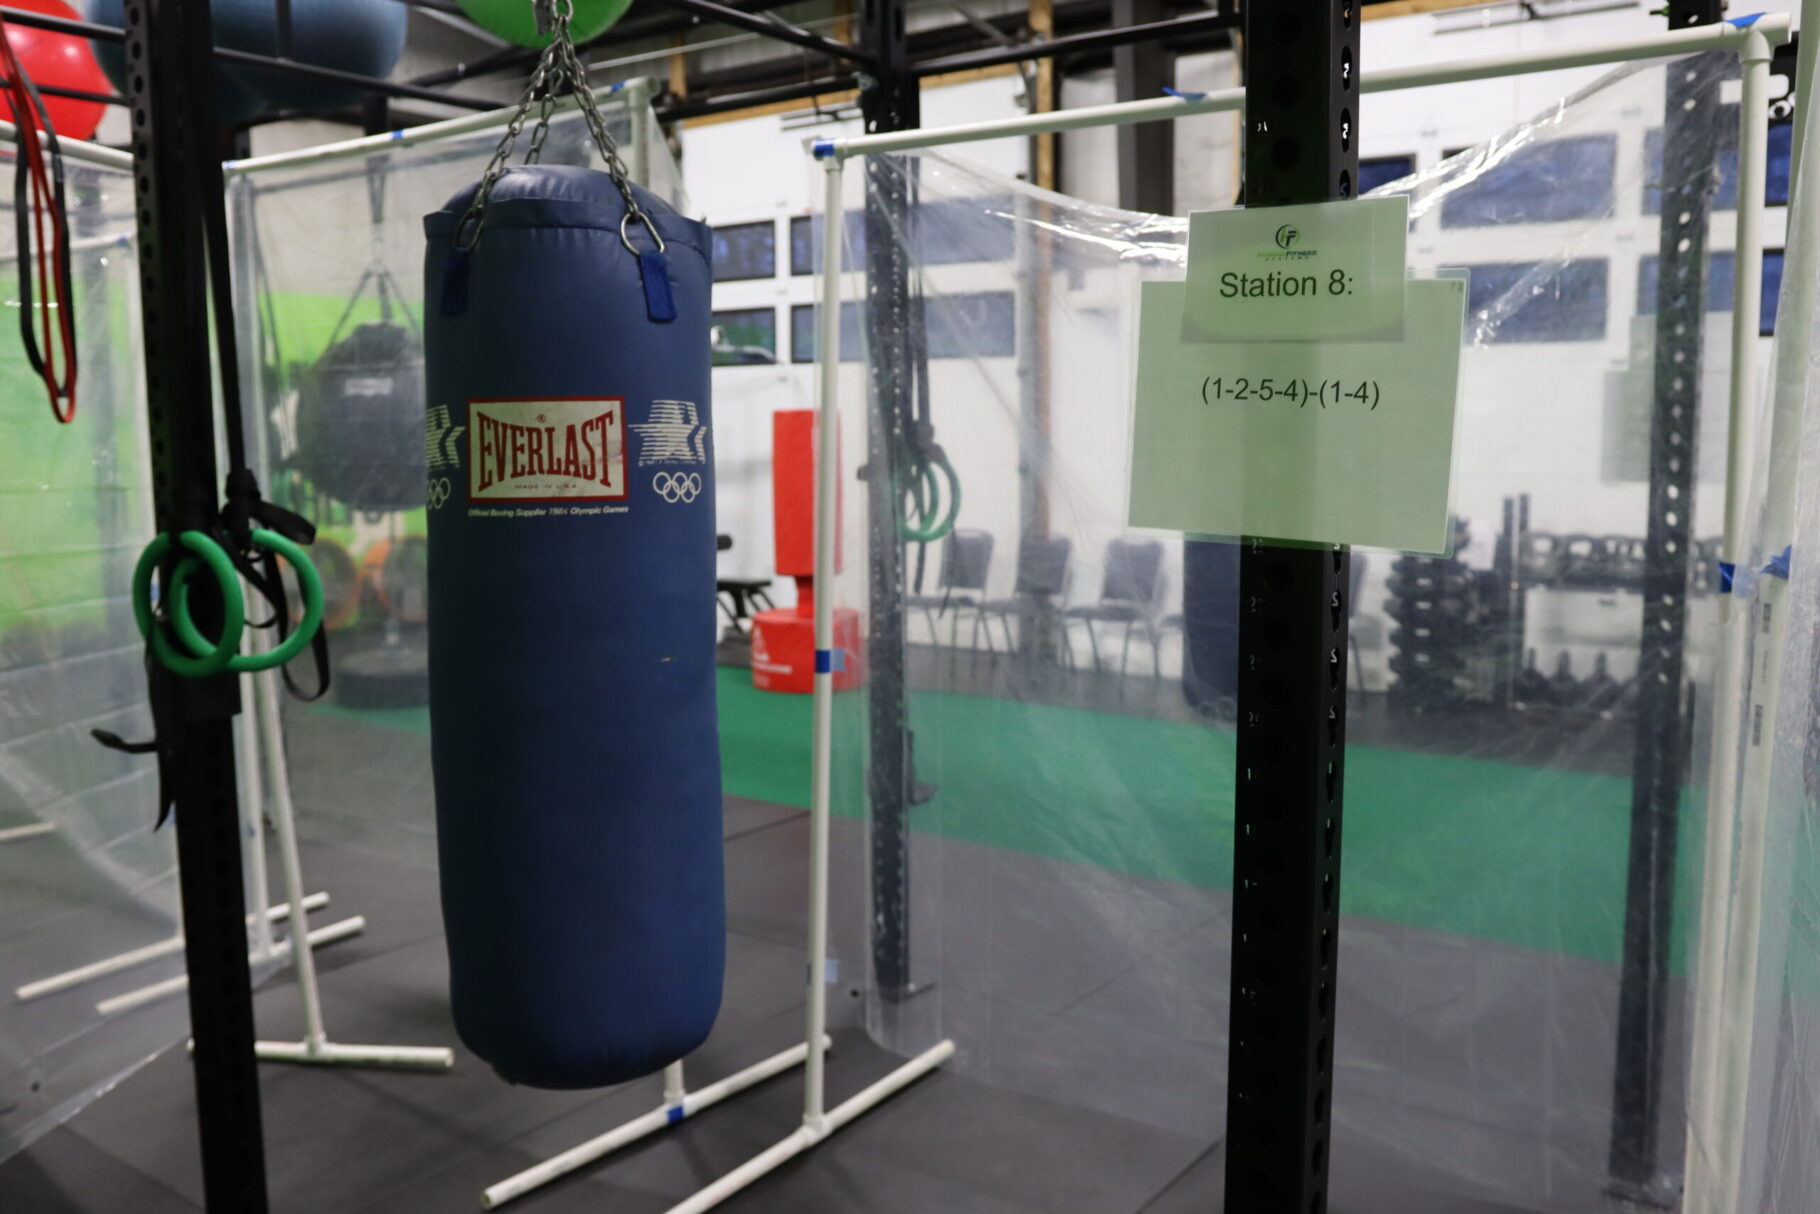
Hard Heavy Bag (This is a harder heavy bag station) There is typically a tough combination on this bag and the bag is also a harder density so it’s
You’ll spend about 1 and a half minutes working at each station, then have ~20-30 seconds to rest and rotate to the next station.
Each station is numbered, and will have either a combination or exercise (usually core based) posted.
THE PUNCHES!
There are 6 main punches that coach Mike will cover with you on your first day and they’ll be used with each combination.
1: Jab
2: Cross
3: (Non-Dominant Hand) Hook
4: (Dominant Hand) Hook
5: (Non-Dominant Hand) Uppercut
6: (Dominant Hand) Uppercut
Why Should You Take Boxing Classes?
- More stamina & endurance
- Increase speed
- Gain confidence
- Improve core stability, and you’ll feel muscles burn that you’ve probably never felt before! Boxing is mostly rotational which is overlooked in exercise routines and not practiced much in day to day life but is incredibly important!
- Cardiovascular benefit, and calorie burning (fat loss!). These classes are high paced but go by incredibly quickly because they’re so much fun!
- Self defense! There aren’t many sports that directly relate to the ability to defend yourself, but this is definitely one of them.
- Improving reflexes & coordination. We actually have a punching bag called a reflex bag because it’s attached to a spring, and moves around which is great for developing your reflexes! This station is most members’ favorite!
- IT’S FUN!!!! But still gonna make you sweat and get a great workout 🙂
Other Equipment to Know!
Gloves
There are several different weight sizes you should know about.
10oz – very small and typically used by professional boxers in matches. There is minimal padding so they will hurt your wrists more as well as your opponent.
12oz – lighter option for gloves. If your weight is under 120lbs then these are what we recommend. They will also often be used by professional fighters who typically train with heavier gloves. This will give them quicker movement during a match.
14oz – Nice average weighted gloves. Recommended for those who are 120-150lbs. These provide a good amount of padding and are also slightly heavier which professionals will use to train and build strength.
16oz – Recommended for 120-180lb individuals. These provide a lot of padding and are also heavier in weight so are better for training.
18oz & 20oz – Heaviest style of gloves. We recommend these for anyone 150lbs+ and provide a lot of padding. They are heavier and harder to control but more suitable for anyone who wants a lot of padding.
Wraps
Traditional wraps come in either 120 or 180 inch lengths. 180 is recommended for everyone because it’s better to have too much wrap and do a few more passes around the wrist than to not have enough wrap to properly secure the wrist & hand.
Wrapping thoroughly around the wrist joint, knuckles, and hand will keep everything compressed, therefore reducing the risk of injury. Not only that, but it will help you punch harder, as well!
As you train more and more, your punching power will increase along with the amount of force and impact, so it’s important to learn how to wrap before even attempting something like boxing.
Wrapping your wrists will reduce the risk of hyperextending and injuring your wrists, and adds an extra protective layer to the knuckles as well to help keep them protected.
Boxing gloves should fit snug and not wiggle around too much, so wrapping also helps limit the space inside for a tighter fit. The wrapping process can be daunting where it includes numerous steps, but it’s important to learn early on, and properly, so you don’t injure or limit yourself along the way.
[LINK TO WRAPPING VIDEO/BLOG POST]
If you found this helpful, please consider subscribing to the Hybrid Fitness YouTube channel, and be sure to check out all the other articles from our coaches.
And remember…Small Steps, Big Results.
Mike grew up as a multi-sport athlete and received his Bachelors in Kinesiology (Exercise Science) and also received his Personal Training Certification from the American Council of Sports Medicine.
Mike has worked with a wide range of ages and abilities and is an expert at working around injuries and helping those individuals reach their health goals.
In his time in college, he also worked with D1 Athletes (specifically the UMASS Amherst Men and Women’s Basketball teams) helping them get stronger, faster, and more athletic.
February 5, 2021
The Perfect Boxing Stance – Boxing Basics
Perfecting the Boxing Stance
When boxing, establishing the perfect stance is one of the most crucial aspects to becoming fluent in the sport. In this article, I’m going to cover everything that you need to know in order to be comfortable in your stance, and dominate one of the most fun workouts you’ll ever have.
Boxing Stance Fundamentals
Although there are numerous stances and variations, the two most common stances in boxing are orthodox and southpaw. I recommend starting with one of these if you’re a beginner, but once a little more advanced, you can vary your stance for what’s most optimal for you. You can’t beat the basics of a perfect boxing stance!
Orthodox
Orthodox is typically for someone who is right-hand dominant. To set up in this stance, your left foot will be leading, with your right foot behind you.
Southpaw
Southpaw is usually utilized by left-handed individuals. This stance is a mirror image of Orthodox, except we’re just flipping it around. Here, you’ll lead with your right foot, and your left foot will be the trailing foot.
Most people feel comfortable with their given stance based on hand dominance, but use whichever feels most comfortable to you!
Foot Placement
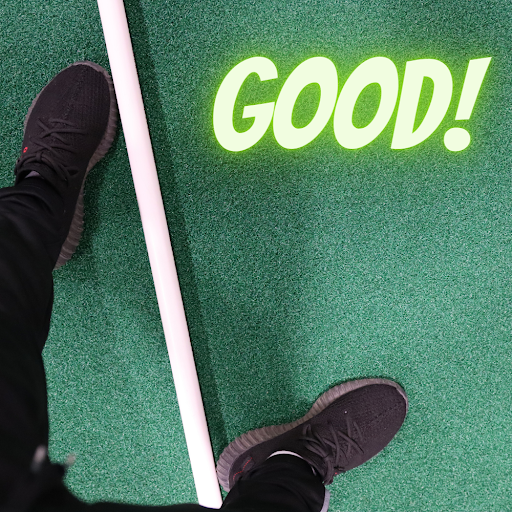
Feet should be about shoulder width apart, and in a triangle stance; angled open towards the direction they’re facing (see diagrams below). Make sure your bodyweight is dispersed equally over both feet (don’t lean forward, or back).
Good foot placement allows for both solid balance and mobility. You’ll have great power and reach with both hands without leaving yourself too easily exposed for your opponent.
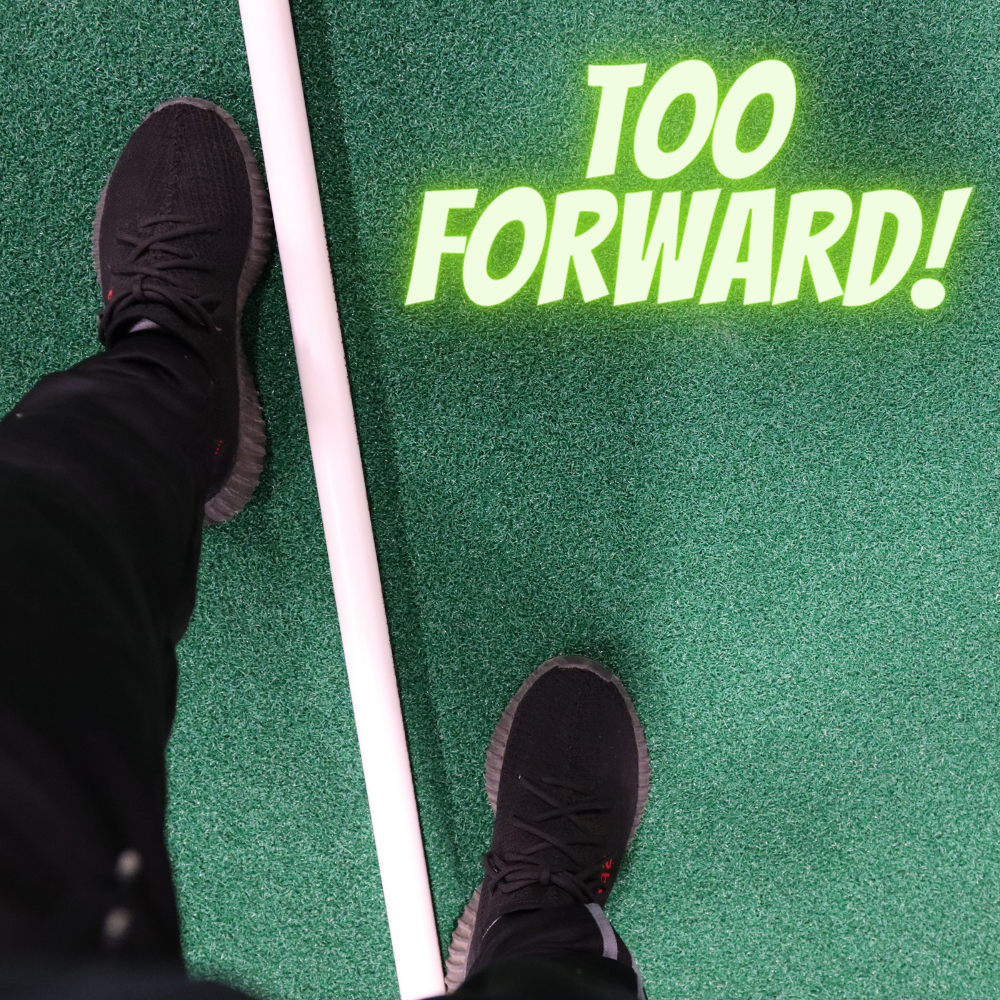
- A stance that is too forward will provide less power and mobility, all while leaving you head and body more exposed
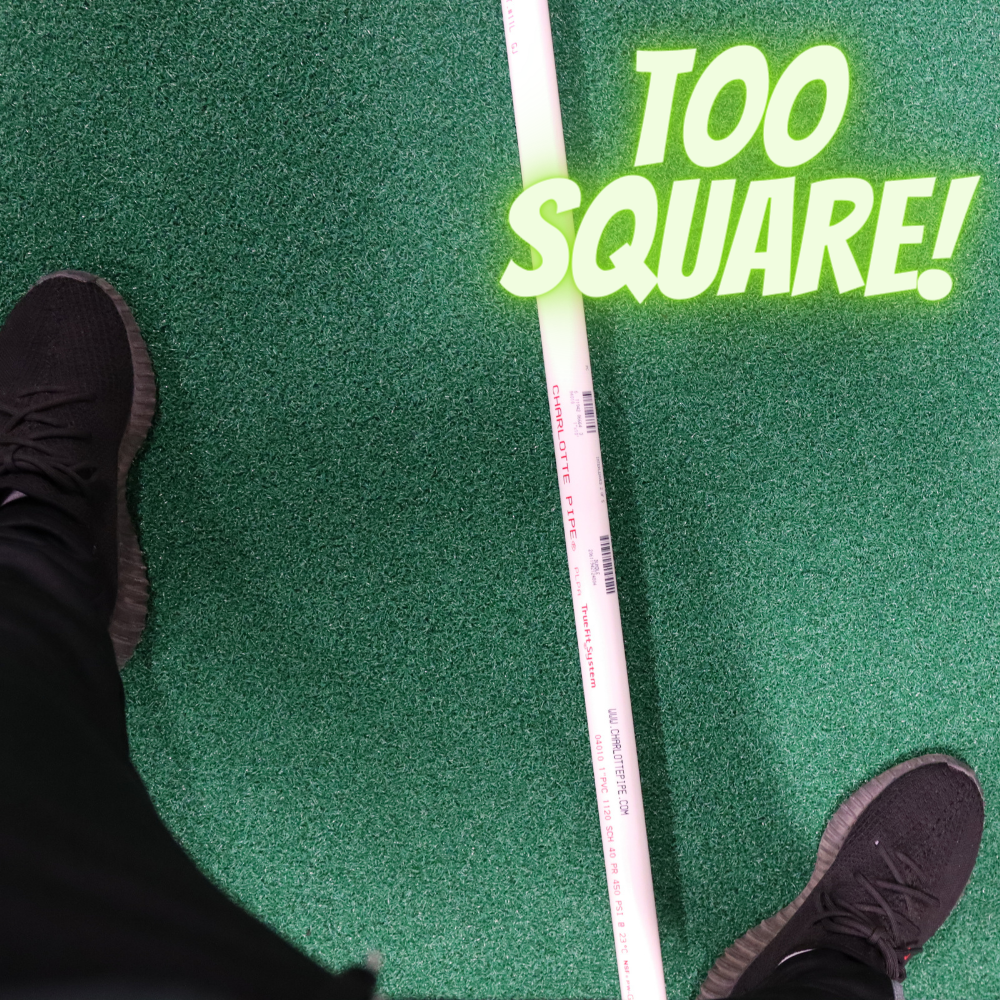
- Too square of a stance will leave the head and body exposed in the center, have less reach on your jab, give you poor mobility, and make it easier to fall backwards
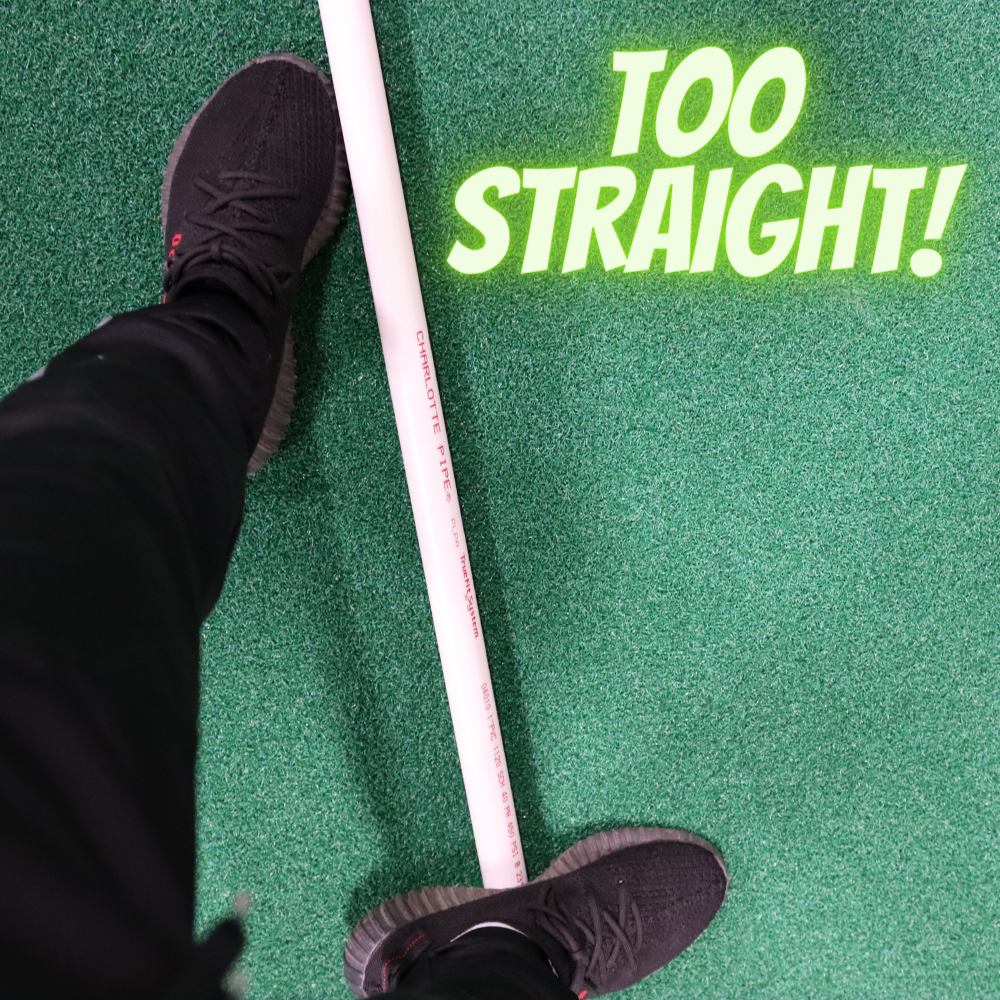
- A stance that is too straight will make it easy for you to be pushed off balance, and limit your reach with your cross
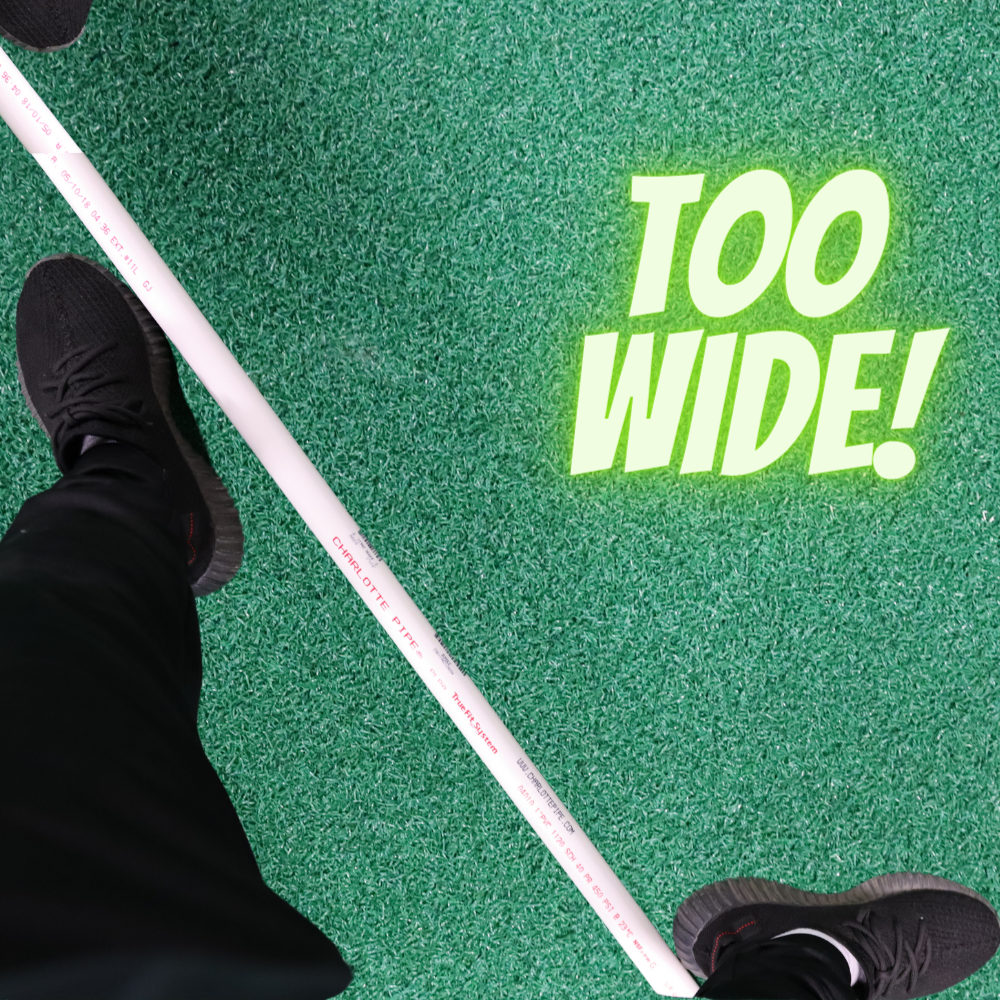
- Too wide of a stance will make it easier for you to be pushed off balance, give you poor mobility, and limit your reach with your cross.
Lower Body Position
There should be a slight bend in your knees with your weight equally dispersed between both feet. The heel of your rear foot should be lifted slightly, and especially when moving around, you should be on the ball of your foot (area just below the toes, but towards the forward portion of foot).
This stance is optimal by allowing for quicker movement on both offense and defense. As long as you’re not moving, the lead foot can be planted flat on the ground.
Common Mistakes:
- Knees too bent
- Not enough bend in knees
- Feet too wide, square, straight or forwards (shown above).
Upper Body Position
Your torso should remain upright, and your head should not be over or past your front knee. Relax your shoulders, pull them down and back, and keep your elbows tucked in at your sides. Your elbows are actually your protection for your ribs, so make sure they stay in tight.
Keep your chin tucked down towards your chest and not sticking out. The chin is something you do not want to leave open and accessible to your opponent.
Position your hands up in front of your chin, with your lead hand (jab hand) 6-8 inches out in front. This is so it doesn’t block your vision, allows for quick jabs, as well as blocks to your opponent’s rear hand.
The rear hand (cross hand) should be directly on the chin. This hand will be responsible for parrying jabs, and blocking hooks from the opponent.
Common Mistakes:
- Leaning too far forward/backward (throws off balance)
- Leaving your lead hand too low (leaves your head vulnerable, unless used as a decoy)
- Dropping your rear guard hand (leaves head very vulnerable)
Benefits of This Stance
This is the perfect boxing stance that allows you to move quickly to attack, as well as to get into a defensive position if necessary. You’ll have great mobility, and be able to move well around your opponent without sacrificing from the defensive side.
It also gives you the ability to fire out punches quickly, but also with great power. Being in this ideal stance also allows for proper balance. You don’t want to get knocked backwards or fall forward if you miss a punch!
Conclusion
The boxing stance is essential to becoming a great boxer, and is the first thing you should get down if you’d like to improve your craft. All of the greatest boxers have spent countless hours mastering their positioning before working on punching harder, defending better, etc. It’s the foundation to dominating your opponent. And here at Hybrid, to dominating the heavy bags while being one of the most fun, high energy workout classes around.
Check out our article on how to properly wrap your wrists for boxing:
Swing over to our YouTube channel to check out our latest videos here:
Hybrid Fitness YouTube Channel
Mike grew up as a multi-sport athlete and received his Bachelors in Kinesiology (Exercise Science) and also received his Personal Training Certification from the American Council of Sports Medicine.
Mike has worked with a wide range of ages and abilities and is an expert at working around injuries and helping those individuals reach their health goals.
In his time in college, he also worked with D1 Athletes (specifically the UMASS Amherst Men and Women’s Basketball teams) helping them get stronger, faster, and more athletic.
January 19, 2021
How To Properly Wrap Your Wrists For Boxing
Have you ever noticed that boxers and fighters have their wrists and hands wrapped up before a fight?
Have you ever wondered why?
In this article, not only will you learn the why, but more importantly the how to properly wrap your wrists and hands prior to participating in boxing and/or any other striking sport.
Properly wrapping for boxing, or any striking sport is extremely important for the health and longevity of your hands and wrists. The structure of the hand alone consists of 27 bones, not to mention numerous joints, ligaments, and tendons that can be easily injured from the impact of repetitive punches.
Wrapping thoroughly around the wrist joint, knuckles, and hand will keep everything compressed, therefore reducing the risk of injury. Not only that, but it will help you punch harder, as well!
As you train more and more, your punching power will increase along with the amount of force and impact, so it’s important to learn how to wrap before even attempting something like boxing.
Wrapping your wrists will reduce the risk of hyperextending and injuring your wrists, and adds an extra protective layer to the knuckles as well to help keep them protected.
Boxing gloves should fit snug and not wiggle around too much, so wrapping also helps limit the space inside for a tighter fit. The wrapping process can be daunting where it includes numerous steps, but it’s important to learn early on, and properly, so you don’t injure or limit yourself along the way.
Like anything, the more you do it, the easier it becomes. Follow along with the step-by-step guide below, and you’ll be a wrist wrapping pro before you know it!
Let’s go!
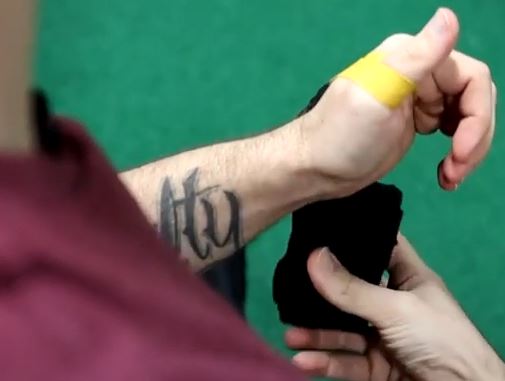
Step 1
- Place the starting loop around your thumb, and begin wrapping around the back of your hand.
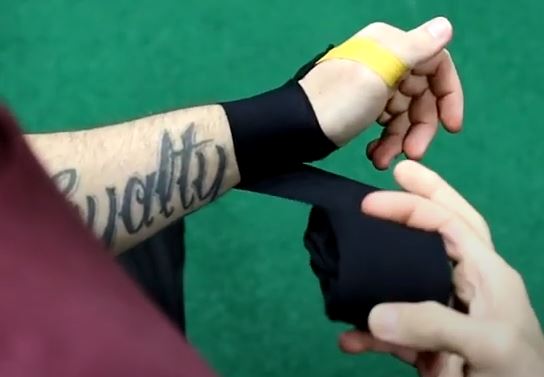
Step 2
- Wrap completely around your wrist 3 times.
Step 3
- Wrap around your palm and knuckles 3 times, leaving your thumb free.
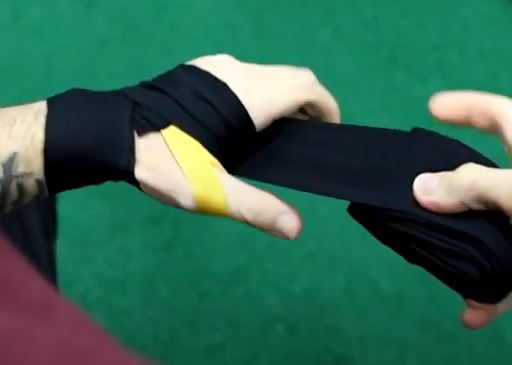
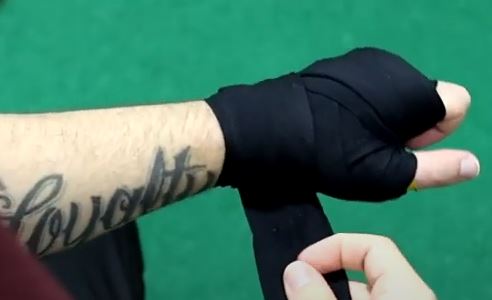
Step 4
- From the underside of your hand, wrap around your thumb, continuing between your pinky and ring finger towards the palm, and wrapping around the palm and knuckles as you did in the previous step.
- You should be back to the same position as you were at the beginning of this step.
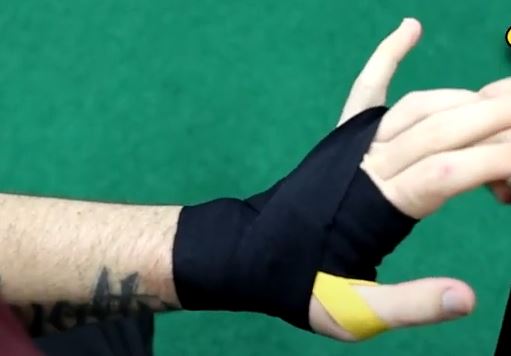
- Once again, wrap around your thumb, but this time continue between your ring and middle fingers. Continue around the palm and knuckles, until you are back in the same position as the beginning of step 4.
- Repeat one more time. This time taking it around the thumb and continuing between your middle and index fingers.
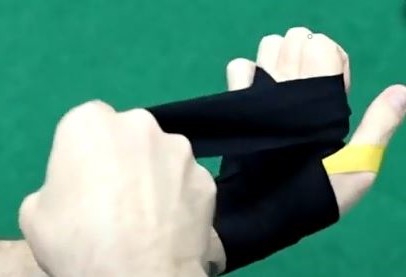
Step 5
- Once you’ve wrapped between each finger, wrap around the thumb and continue over the back of the hand.

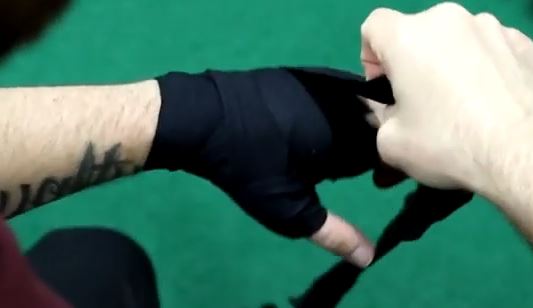
Step 6
- With your palm facing up, wrap around your thumb and down over your palm around to the backside of your hand, in the opposite direction of the way you’ve been wrapping.

Step 7
- Repeating Step 3, wrap around your palm and knuckles 3 more times, excluding your thumb.
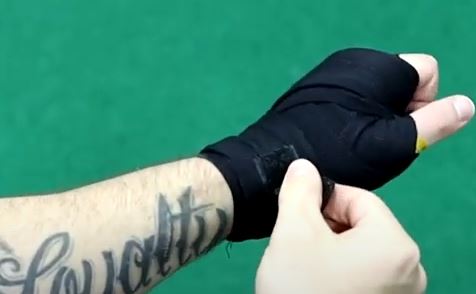
Step 8
- Wrap any excess wrapping around your wrist, and fasten the velcro securing strap.
There you have it! Your wrists are wrapped, and you’re ready to strike!
If you enjoyed this article, please feel free to share it!
Keep your eyes peeled for the 6 numbered punches we’ll be covering soon!
If you enjoyed this information, please check out our other fitness & health articles here:
https://hybridfitnessgym.com/articles/
Swing over to our YouTube channel to check out our latest videos here:
Hybrid Fitness YouTube Channel
Mike grew up as a multi-sport athlete and received his Bachelors in Kinesiology (Exercise Science) and also received his Personal Training Certification from the American Council of Sports Medicine.
Mike has worked with a wide range of ages and abilities and is an expert at working around injuries and helping those individuals reach their health goals.
In his time in college, he also worked with D1 Athletes (specifically the UMASS Amherst Men and Women’s Basketball teams) helping them get stronger, faster, and more athletic.